
You just finished a two-hour Zoom call, and now you are staring at a recording file on your computer, wondering how to cut out the awkward silences, the "can you hear me?" moments, and the parts nobody needs to see. Trimming a Zoom recording saved on your computer sounds simple, but without the right steps, it can eat up your whole afternoon. This article walks you through the entire process in 30 minutes or less, whether you are editing a team meeting, a webinar, or a podcast session you recorded over Zoom.
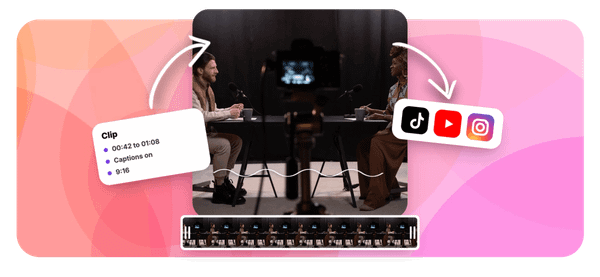
That is exactly where Crayo's clip creator tool becomes useful. Once you've trimmed and cleaned your Zoom recording, Crayo helps you pull out the strongest moments and turn them into short, shareable clips without spending hours in a traditional video editor. It handles the heavy lifting so you can focus on getting your content out faster, not on wrestling with software.
Summary
- Workers lose up to 4 hours per week searching for information across multiple tools, and a significant portion of that time is spent looking for features that simply do not exist in the tool they are currently using. For Zoom users, this plays out in a predictable pattern: someone records a meeting locally, opens the Zoom web portal or desktop app, and searches for a trim option that was never built for locally saved files. The local MP4 is already complete and ready to edit, but Zoom isn't the tool to edit it.
- Zoom's trim tool is exclusive to cloud recordings because those files live on Zoom's servers, where Zoom can apply edits directly. A local recording is a finished MP4 written to your hard drive the moment the meeting ends, and Zoom has no server-side relationship with that file. According to Zoom's own support documentation, the trim capability exists only within the cloud recording workflow, regardless of account type or plan level.
- Even when creators understand the limitation, the manual trimming process carries real-time costs. Trimming a local Zoom recording using a standard built-in workflow takes around 20 minutes for a clean, uncomplicated file, according to the WhisperAI Blog. The moment variables change (multiple speakers, separate per-participant audio tracks, watermark issues, or mid-recording cuts), that 20 minutes stretches considerably. For creators who clip Zoom calls regularly, four 20-minute recordings a week add up to over 90 minutes of editing time that produces only trimmed files waiting for the next step.
- The gap between a 20-minute workflow and a 45-minute one is rarely about editing skill. It comes down to decision latency: small pauses around which file to open, which tool handles a specific type of cut, and whether a watermark will appear after export. Each pause is brief, but they compound across a session and across a week of consistent recording.
- Companies now use an average of 130 SaaS applications, up from 80 in 2020, which means more surface area for this kind of confusion: the right capability exists somewhere, but matching it to the right tool requires clarity most people don't stop to build before they start clicking. The shift from "find the feature inside Zoom" to "bring the file to the right tool" is the simplest and most consistently overlooked step in the entire local recording workflow.
- Exporting a trimmed recording as a separate file, rather than overwriting the original, is the one step that protects every other editing decision. The original MP4 stays intact as a safety net if you need a different cut or a second clip surfaces from the same recording weeks later. MP4 with H.264 encoding covers the vast majority of upload destinations without requiring a conversion step that can degrade quality in ways that are not always visible until playback on a larger screen.
Crayo's clip creator tool fits into this workflow after the local recording is trimmed and clean, handling auto-clipping, caption generation, and short-form formatting automatically so the editing work after a trim doesn't require another full editing session.
Why Zoom's Trim Tool Doesn't Work on Local Recordings
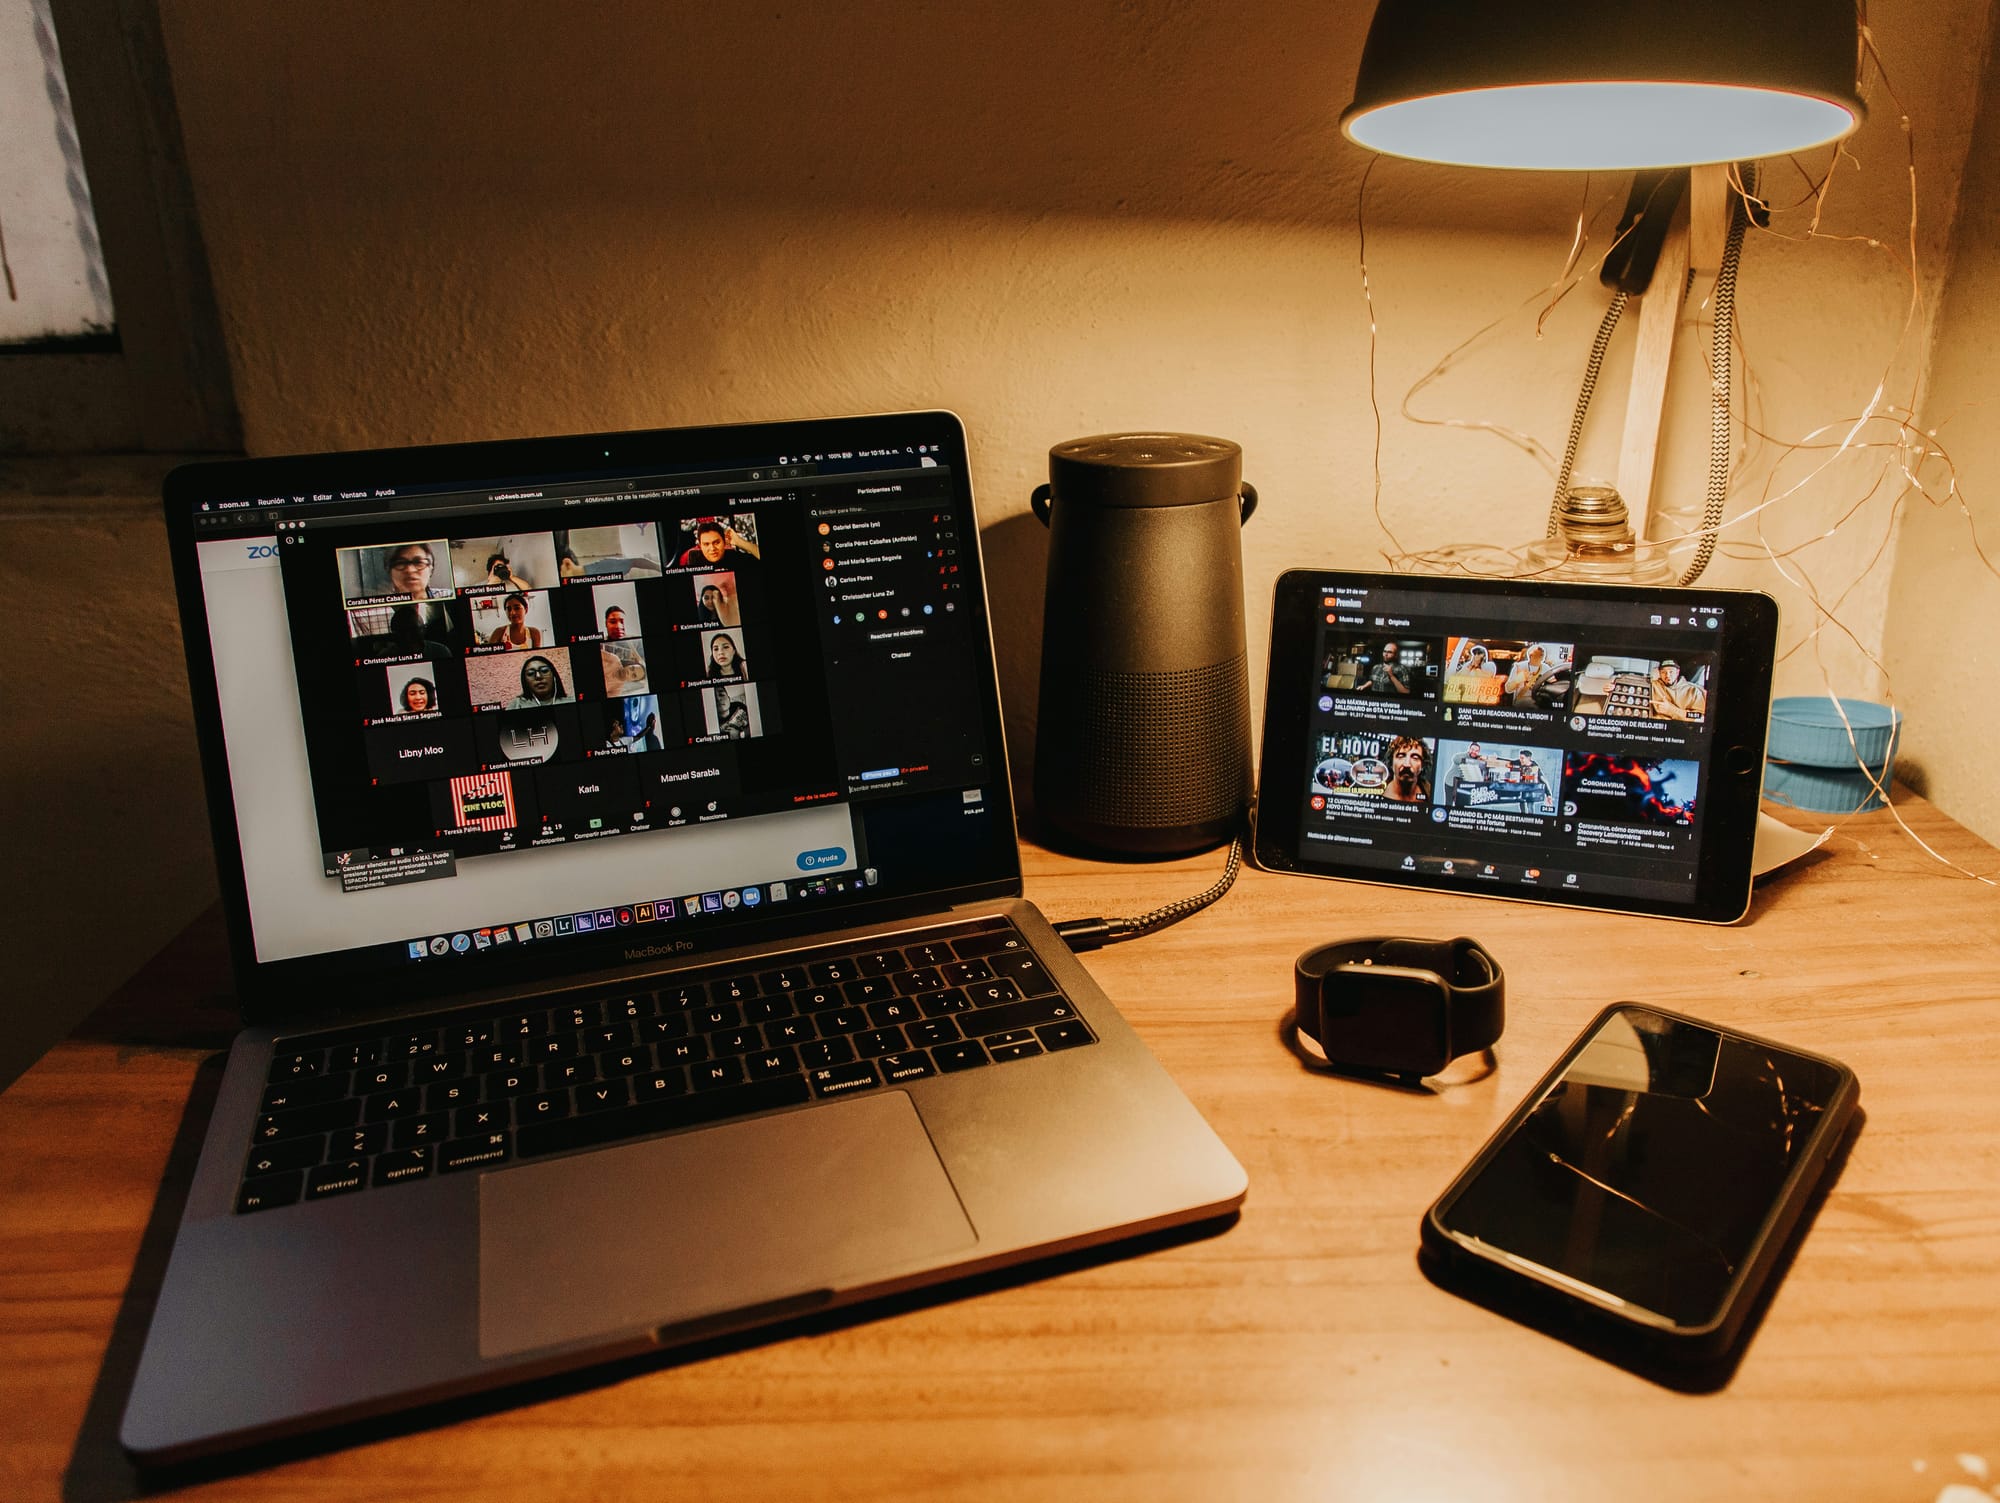
Zoom's trim tool works on cloud recordings because those files live on Zoom's servers, where Zoom can reach them and apply edits. A local recording is already a finished MP4 sitting on your hard drive the moment the meeting ends. Zoom has no server-side relationship with that file, so its trim tool has nothing to act on.
The confusion is predictable. Someone who has successfully trimmed a cloud recording inside Zoom's web portal carries a reasonable assumption forward: the same feature should appear for any recording. According to Zoom Support's documented guidance, Zoom recognizes two fundamentally separate recording types, local and cloud, and the trim capability exists exclusively within the cloud recording workflow. The desktop app and web portal simply offer no editing interface for a locally saved MP4 file, regardless of account type or plan level.
Local vs. Cloud Recording Limitations
That distinction matters more than it first appears. When you record locally, Zoom writes the video file directly to your computer, typically inside a Documents folder organized by meeting name and date. Once that file is there, Zoom is finished with it. The recording is yours, fully intact, but completely outside the reach of any built-in editing tool Zoom provides.
Most people handle this by searching Zoom's interface anyway, clicking through menus, checking the web portal, even re-uploading the file, hoping a trim option will surface somewhere. The hidden cost of that search is real time lost before any actual editing begins.
Streamlining Local Edits With Dedicated AI Tools
Zoom Support notes that even cloud recording trims can take approximately two hours to process depending on file length, which means the faster path for local files is always a dedicated video editor, not a prolonged search inside Zoom for something that isn't there. Creators who recognize this early skip the detour entirely and open a separate editing tool from the first step.
This is where the workflow either stalls or accelerates. Once your local MP4 is trimmed and clean in a dedicated editor, tools like Crayo's clip creator take that prepared file and automatically pull out the strongest shareable moments, adding captions and formatting clips for short-form platforms without hours of manual work. The bottleneck was never the editing itself. It was not knowing which tool handles which part of the job.
Related Reading
- Best AI Podcast Clip Generator
- What Is An Audiogram Podcast
- How Long Does It Take To Trim A Zoom Recording
- Content Repurposing Examples
- Webinar To Short Clips AI
- Clipping a YouTube Video
- Podcast Clips For Social Media
- Video Clipping For Social Media
- How Do I Repurpose My Interview To Social Media
- Sermon Clips AI
The Hidden Cost of Searching Zoom for a Tool It Doesn't Have
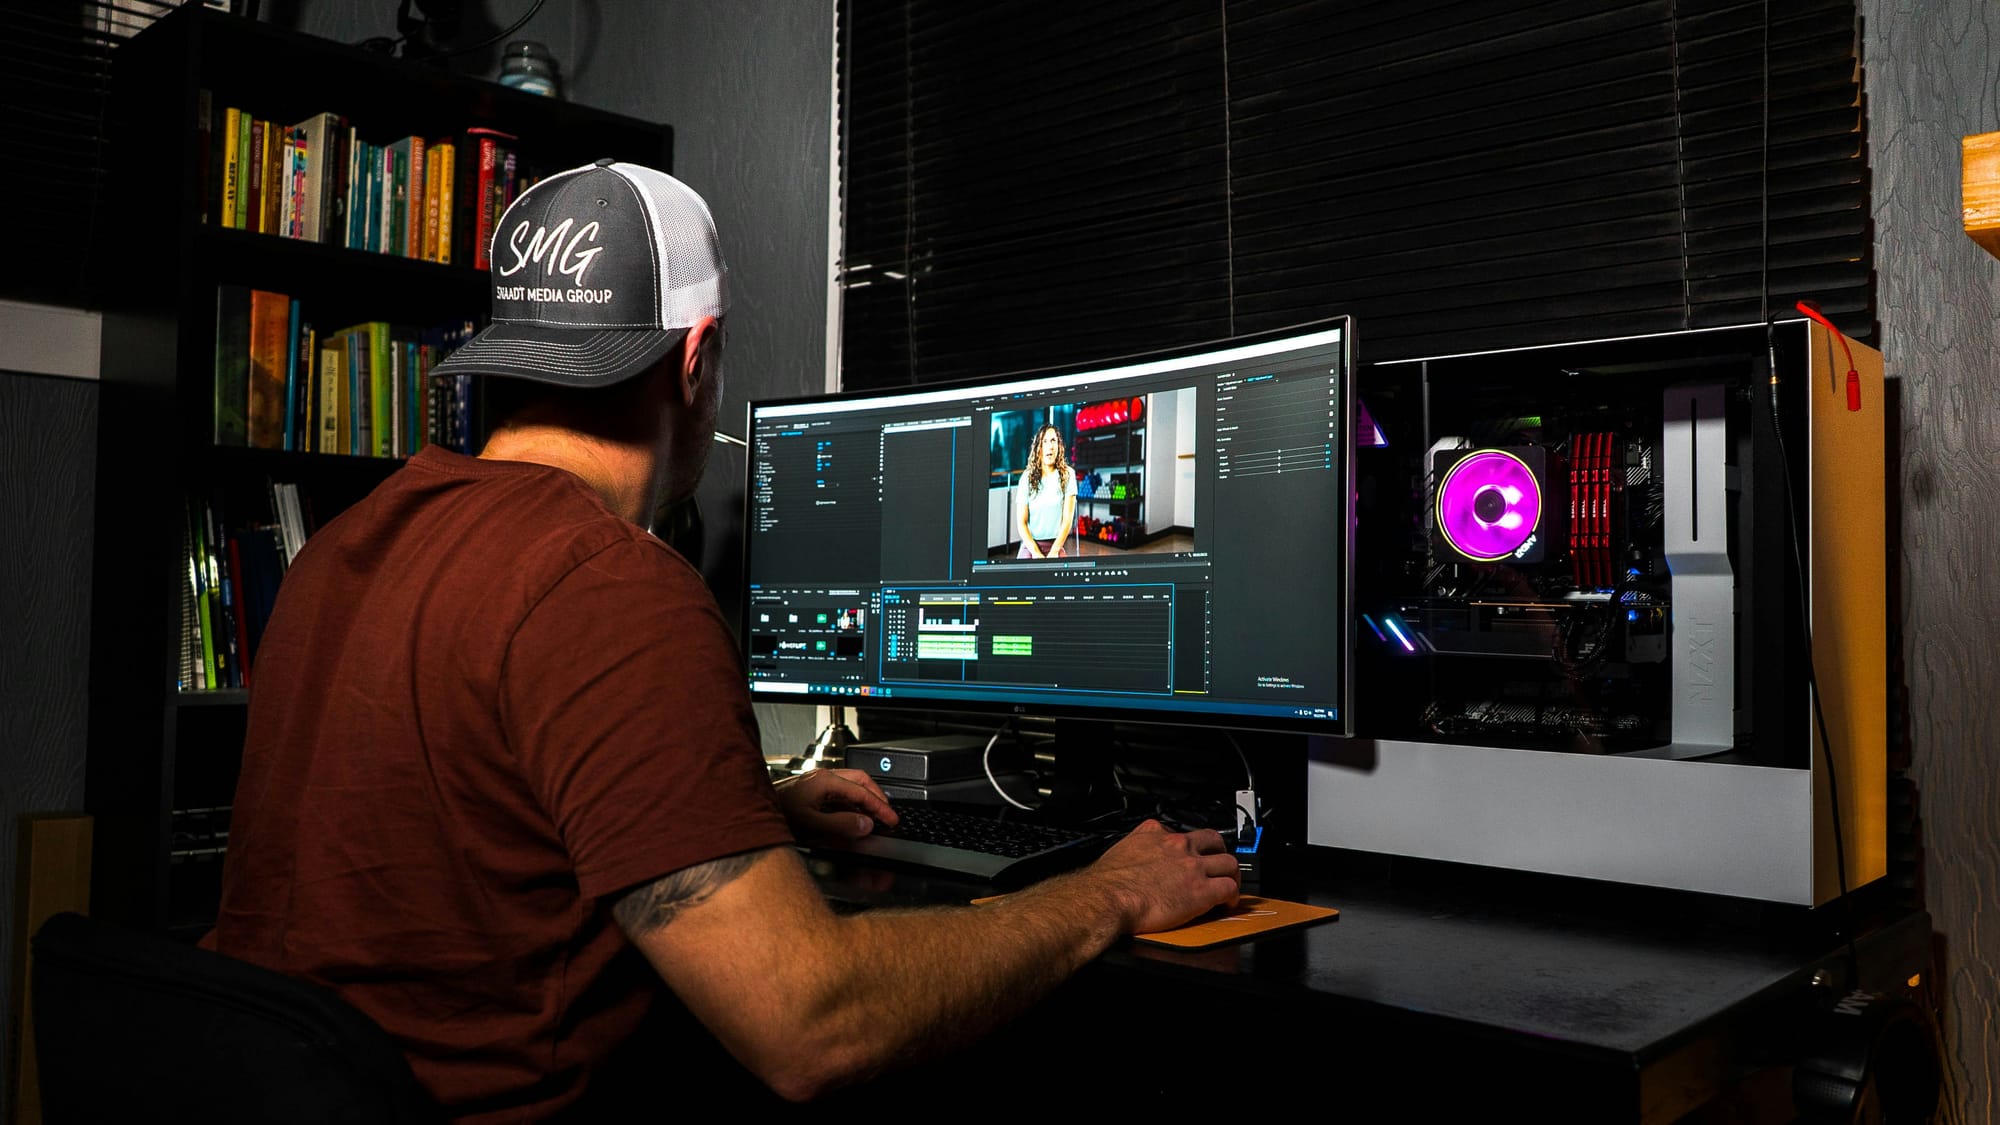
Searching Zoom's interface for a local recording trim option has a real cost, and it's not just the minutes lost clicking through menus that lead nowhere. The cost is the compounding friction: time spent searching, time spent doubting whether the file saved correctly, and time spent realizing the solution was never inside Zoom to begin with.
Why Tool-Switching Makes This Worse Than It Looks
According to sales-leads-crm.com, workers spend up to 4 hours per week searching for information across multiple tools. That number changes when you consider how much of that time is spent searching for features that don't exist in the tool you're already in.
A Zoom recording workflow that should take ten minutes stretches because the mental model is wrong from the start:
- One product.
- One recording.
- One expected trim button that was never built for this file type.
Why Searching Zoom for Local Edits Fails
The failure point is almost always the same. Someone records a meeting locally, opens Zoom's web portal or desktop app, and starts clicking.
- They check recording settings.
- They check account preferences.
- They look for an edit option that documented guidance confirms was only ever built for cloud-stored files.
The local MP4 sitting in their Documents folder is already complete and ready to edit. The tool to edit it just isn't Zoom.
Moving Beyond Zoom to Purpose-Built Tools
Most creators handle this by continuing to search rather than switching tools, because switching feels like admitting the first approach was wrong. That instinct is understandable, but it can be expensive. The familiar approach of staying inside one product works until the product genuinely doesn't support what you need. At that point, staying costs more than leaving.
Crayo's clip creator is built for the moment after the local file is clean and trimmed, pulling out the strongest shareable moments and formatting them for short-form platforms automatically, so the remaining editing work doesn't require another round of searching.
What the Real Bottleneck Actually Is
The critical difference is this: trimming a local Zoom recording isn't technically difficult once you're in the right tool. The bottleneck is the gap between knowing you need to edit a video file and knowing which category of tool handles that task. Companies now use an average of 130 SaaS applications, up from 80 in 2020.
More tools mean more surface area for exactly this kind of confusion: the right capability exists somewhere, but matching it to the right tool requires clarity that most people don't stop to build before they start clicking.
Rethinking Video Workflows Beyond Zoom
The same pattern surfaces in any workflow where one product handles two similar-sounding tasks through entirely separate systems. Cloud recording and local recording feel like the same thing because they come from the same meeting. They're not. One stays on Zoom's servers and gets Zoom's editor.
The other lands on your hard drive as a standard MP4, and from there, it belongs to whatever video editing tool you choose to open it in. And that shift in thinking, from "find the feature inside Zoom" to "bring the file to the right tool," turns out to be the simplest and most overlooked step in the entire process.
How to Trim a Zoom Recording Saved on Your Computer
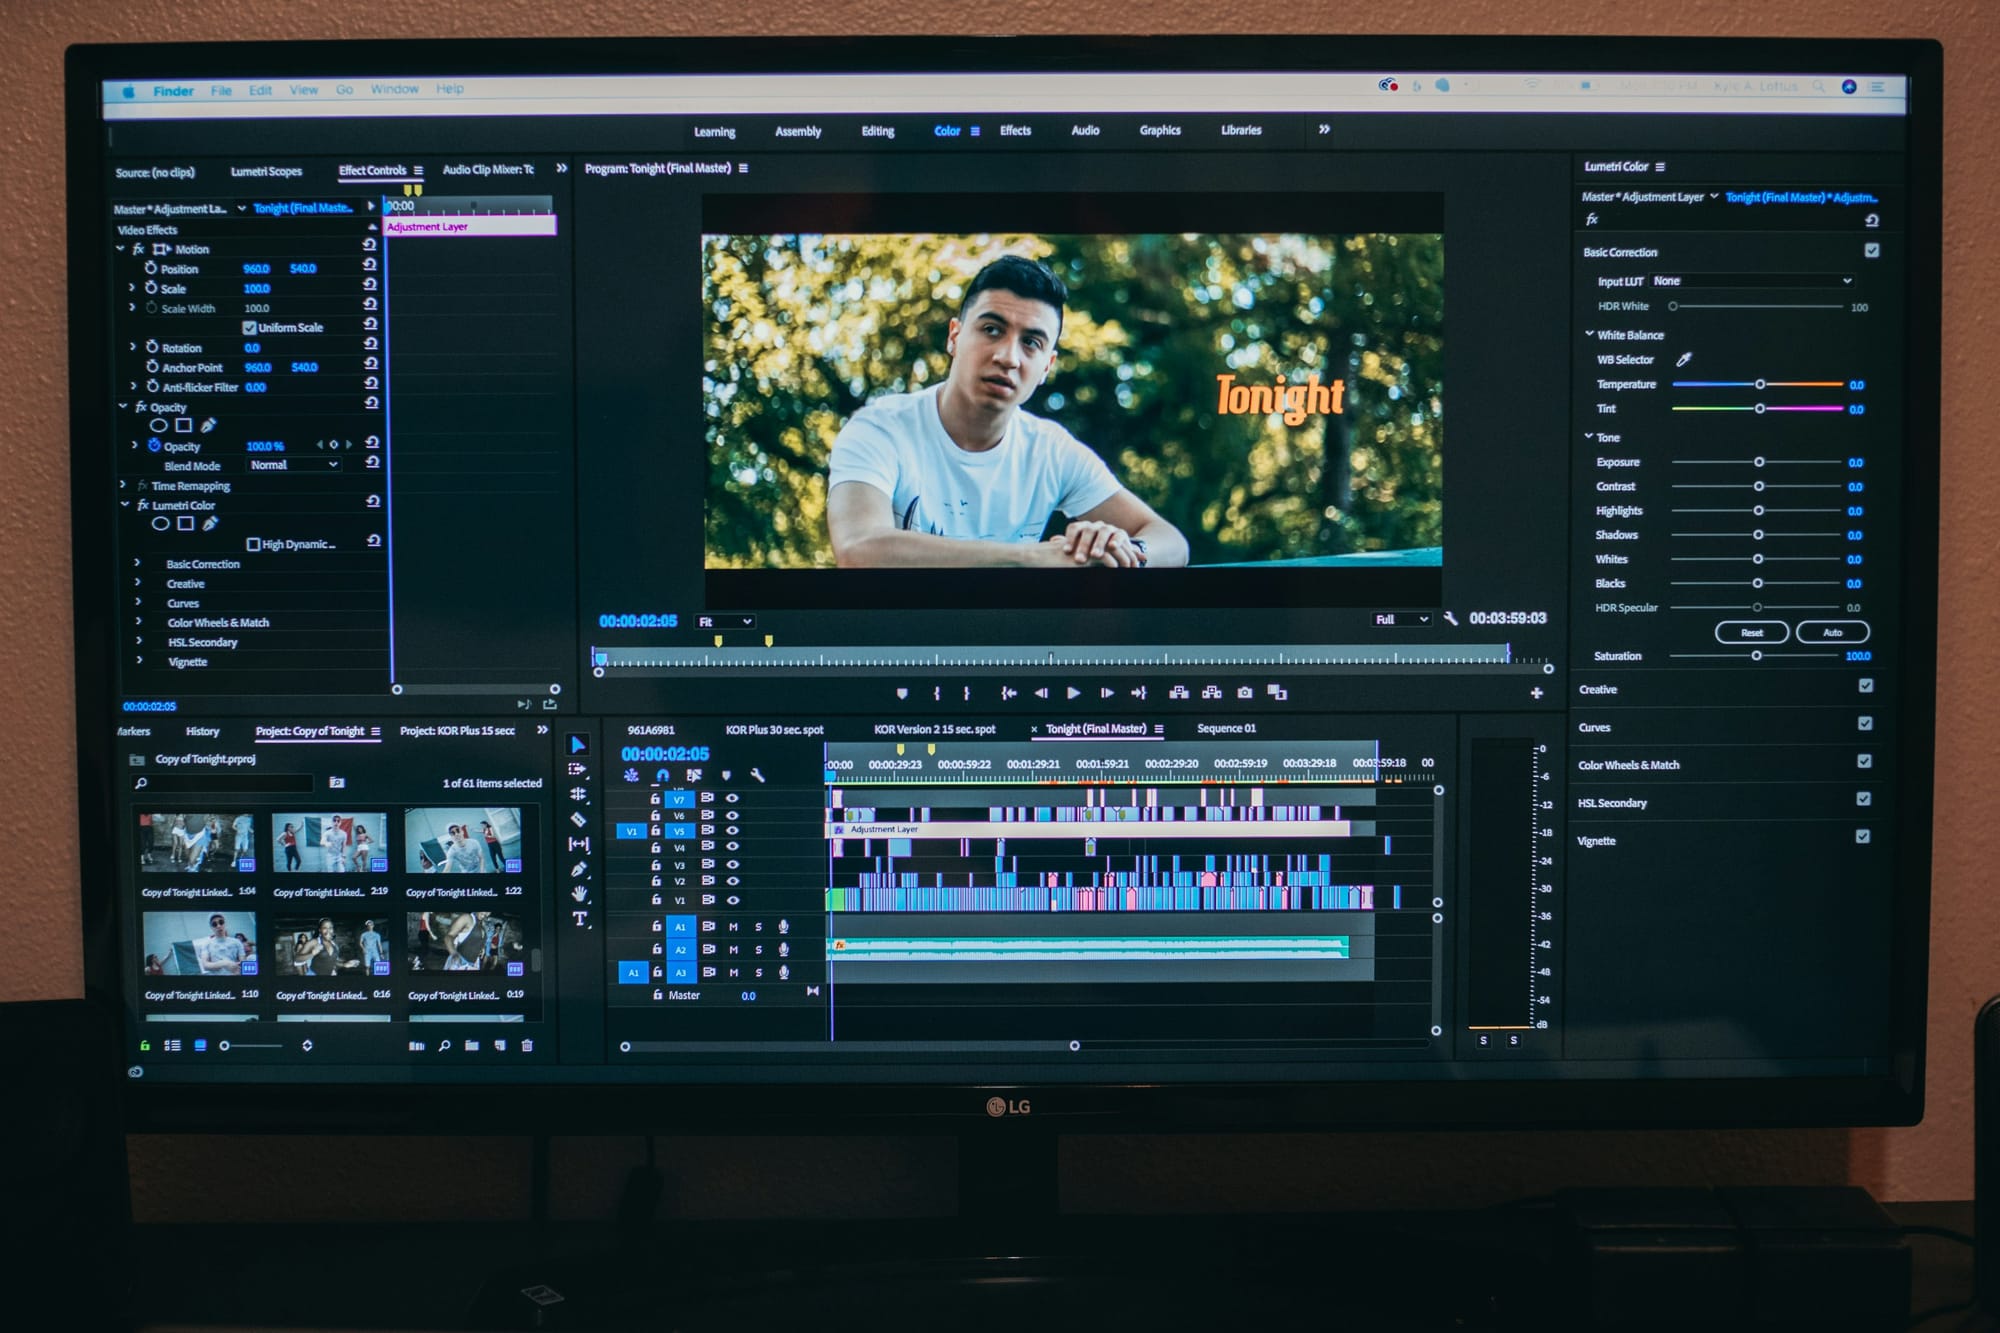
Trimming a local Zoom recording means working entirely outside Zoom. Your file is an MP4 sitting in a folder on your hard drive, and the steps below treat it exactly that way.
Where Your File Actually Lives
Check your Documents folder first. Zoom creates a subfolder called Zoom by default, and inside that, each meeting gets its own subfolder named by date and meeting title. Open that subfolder, and you will typically find the main video file as an MP4, and possibly a separate M4A audio file if you had individual participant audio recording enabled in your settings. Knowing what you have before you open any editor saves a frustrating round trip back to the folder mid-edit.
The Right Tool for the Size of the Job
For a simple start-and-end trim on a Mac, QuickTime Player handles it cleanly.
- Open the MP4
- Go to Edit
- Select Trim
- Drag the handles
- Save
No installation, no learning curve. When the job gets more complex, like removing a section from the middle of the recording, a dedicated video editor becomes necessary because QuickTime's trim handles only the endpoints. Import the MP4, use the blade or cut tool to isolate the section you want removed, delete it, and rejoin the remaining clips.
Automating Video Clipping With AI
Most people who trim local recordings manually hit a predictable ceiling: the tools work, but the process stacks up. Locate the file, open the editor, make the cut, check for watermarks, export, rename, save separately. For a single recording, that's manageable. For anyone regularly clipping Zoom calls into shareable content, that stack becomes the bottleneck.
Crayo approaches this differently, using AI to auto-clip, add captions, and generate short-form video in seconds, which reframes the question from "how do I trim this file" to "how quickly can this become something worth sharing."
Two Things Most People Skip
The first is the watermark check. Depending on your Zoom account settings, a visible "Powered by Zoom" watermark can appear on local recordings. If yours has one, use your editor's crop tool to remove it before exporting. If you miss it now, you'll only notice it after sharing. The second is file management.
Processing a trim can take about 2 hours depending on recording length, which is a useful reminder that even cloud-side edits carry real time costs. For local files, your export time depends on your machine and the editor, but the principle holds: plan for it, and always export your trimmed version as a new file rather than overwriting the original.
Why the Export Format Matters More Than it Seems
MP4 is the right default export format for a trimmed local Zoom recording. Zoom produces it, it's broadly compatible with every major platform you might upload to next, and it keeps file sizes reasonable without sacrificing playback quality. The only exception is if your next destination requires a specific format; in that case, match that requirement directly. Exporting in the wrong format adds a conversion step that serves no one.
The process works. But knowing the steps and moving through them efficiently are two different things, and the gap between them is where most creators quietly lose time they never get back.
The 20-Minute Workflow to Trim a Local Zoom Recording

The workflow itself is sound. Twenty minutes from raw file to finished export is achievable, and the step-by-step structure covered earlier gives you a clear path. But speed and clarity are two different things, and what separates creators who move efficiently from those who stall isn't the quality of their instructions. It's what happens when the process meets real-world friction.
According to the WhisperAI Blog, trimming a local Zoom recording using a built-in workflow takes around 20 minutes. That number is accurate for a clean, uncomplicated file. One video, one speaker, a simple start-and-end cut, no watermark issues, no separate audio tracks to reconcile. The moment any of those variables change, the 20 minutes stretches.
When the Clean Workflow Breaks Down
The failure point is usually the file itself, not the editor. Zoom's local recording settings can produce multiple outputs from a single meeting:
- A combined MP4
- Separate M4A audio files per participant
- Occasionally a chat log or transcript
Importing the wrong file, or missing a separate audio track entirely, means discovering the problem mid-edit rather than at the start.
Managing Multi-Track Audio Recordings
Separate per-participant audio files are the specific variable most creators overlook. If your Zoom account had that setting enabled, each speaker's audio saves independently. A video editor that doesn't receive all the relevant files will play back the combined MP4 audio just fine, but the moment you need to isolate or adjust a specific voice, the track isn't there.
That's not a technical failure. It's a setup step that got skipped because nobody flagged it before the edit began.
What Actually Eats the Time
The critical difference between a 20-minute workflow and a 45-minute one isn't editing skill. It's decision latency: the small pauses where you're not sure which file to open, which tool handles this specific cut, or whether that watermark in the corner will show up after export. Each pause is short. Collectively, they compound.
Most creators handle this by defaulting to a familiar tool regardless of whether it fits the cut. QuickTime for everything, or a full video editor even for a two-second trim at the start of a recording.
Optimizing the Post-Trim Short-Form Workflow
The familiar approach feels safe, but it adds steps that don't serve the output. Opening a full non-linear editor for a simple start trim is like driving a forklift to move a single box.
Crayo is built for exactly the moment after the trim is done: when a cleaned-up Zoom recording becomes raw material for short-form clips, captions get added automatically, and a publishable short is ready in seconds rather than another editing session. For creators who clip frequently, the bottleneck isn't always the trim itself. It's everything that comes after it.
The Export Decision Most People Get Wrong
Exporting as a new file, separate from the original, is the one step that protects every other decision you made. The original MP4 sitting in its Zoom folder is your safety net. If the trimmed version needs a different cut, or a second clip surfaces from the same recording two weeks later, the untouched original is still there.
The format question is simpler than most guides make it sound. MP4 with H.264 encoding covers most upload destinations without conversion. Only deviate when a specific platform requires something different; in that case, match the requirement directly rather than exporting a universal format and converting afterward. Conversion adds a generation step that can degrade quality in ways that aren't always visible until playback on a larger screen.
The Real Cost of Manual Repetition
When trimming a local Zoom recording is a one-time task, the 20-minute workflow is a reasonable investment. When it becomes a recurring part of your content process, the math changes. Twenty minutes per recording, four recordings a week, adds up to over an hour and a half of editing time that produces nothing except trimmed files waiting for the next step.
The question worth sitting with isn't whether the workflow works. It does. The question is whether that time is the best use of your editing hours, or whether it belongs somewhere else entirely. But the answer depends on something most creators haven't fully mapped yet.
Related Reading
- Church Reels Editing
- Podcast Shorts
- How To Start Clipping On Instagram
- Best Video Clipping Tool For YouTube
- Repurposing Content For Social Media
- How To Add Audio To A Video
- How To Repurpose Webinar Content For Marketing
- Podcast Reels
Trim Your Local Recording Faster With Crayo
The mapping is done now. You know where local recordings live, why Zoom's interface won't trim them, and what the manual workflow actually costs across a week of consistent recording. The remaining question is whether the next trim takes the long route or the short one.
Upload your local recording directly to Crayo, trim the start, end, or middle, then export your finished file. No separate editor to configure, no feature hunt inside Zoom's desktop app or web portal. Creators who treat trimming as a bottleneck between raw footage and publishable content find that removing the detour changes how much they actually ship.
The file is already in your Documents folder. The next step doesn't have to be complicated.
Related Reading
• Best Way To Make Podcast Clips
• Best Audiogram Maker
• Best AI Video Repurposing Tools 2026
• How To Automate My Video Clipping
• Best AI Video Clipping Tools 2026
• How To Trim Google Meet Recording
• Best AI Video Tools Like Vizard For Webinar Clips
• Content Repurposing Tool
• How To Trim A Zoom Recording