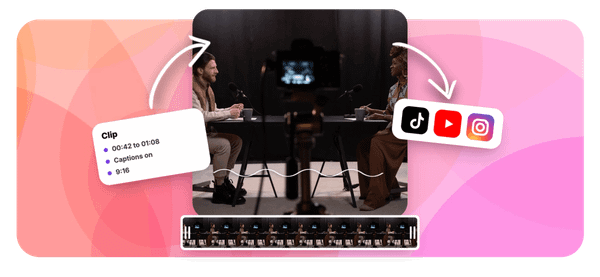

You just wrapped a 60-minute webinar packed with valuable insights, and now it's sitting in a folder, barely getting any views. Sound familiar? Turning long-form video content into short, engaging clips is one of the smartest ways to extend your reach, and with the right AI video editing tools, you can repurpose webinar recordings into bite-sized social media clips in a fraction of the time it used to take. This article walks you through exactly how to turn a webinar into short clips with AI in 30 minutes, using the same workflow that creators and marketers are already using to get more out of every recording. If you have been searching for the best AI podcast clip generator to handle your webinar content too, you are in the right place.
That is where Crayo's clip creator tool comes in. Crayo uses AI to automatically detect the strongest moments in your webinar, trim them into shareable video clips, and format them for platforms like Instagram, TikTok, and LinkedIn without requiring any video editing experience. Instead of spending hours scrubbing through footage, you get clean, ready-to-post clips fast, so your webinar content keeps working for you long after the live session ends.
Summary
- Marketers spend up to 5 hours editing a single webinar into clips, according to CMSWire. That number reflects the mismatch between generic AI clipping tools and webinar content, which follows a different structure than podcasts or live streams. Tools calibrated for entertainment energy, audience laughter, or dramatic pacing consistently miss the calm, precise moments that carry the most value for business audiences.
- A 60-minute webinar realistically yields 5 to 10 genuinely strong, standalone clips, not the 15 to 25 a podcast of the same length might produce. Large portions of webinar runtime are dedicated to context-setting, Q&A facilitation, and screen-shared walkthroughs that lose meaning without surrounding content. Expecting podcast-level clip volume from a webinar means spending real production time on clips that feel forced or incomplete.
- The Cost Per Publishable Clip metric, defined by the Montage Real Cost of AI Clips Framework, reveals the real production loss from mismatched tools. A generic tool generating 30 clips with only 4 publishable outputs costs far more per usable clip than a matched tool generating 10 clips with 7 publishable ones. Volume is not the goal; publishable rate is.
- Branding applied after generation rather than before compounds time costs across every webinar a team processes. When logos, color palettes, and caption styles are configured once before the generation run, every clip already meets the visual standard. Post-production branding becomes a manual task repeated for each clip, and consistency drifts as volume increases.
- Clips anchored to a specific number, named outcome, or concrete case example consistently outperform clips that are simply more animated, particularly with B2B audiences. The caption is where that specificity either pays off or gets ignored. According to OpusClip, the full process of turning a webinar into short clips using AI takes around 30 minutes, but a caption that names the exact statistic or takeaway does more work than three sentences of general topic description.
- 86% of businesses use video as a marketing tool, according to CMSWire and Wyzowl, making competition for short-form attention significant. The marketers who perform best in that environment are not producing the most clips. They are producing the right clips from the right moments, formatted consistently, with branding that makes every output feel like part of a deliberate content strategy rather than a random export.
Crayo's clip creator tool addresses this by building insight detection, active-speaker tracking, and branded templating into a single workflow, so the review step focuses on selecting the strongest clips rather than confirming whether the tool processed the content correctly.
Why Marketers Struggle to Clip Webinars With AI Tools
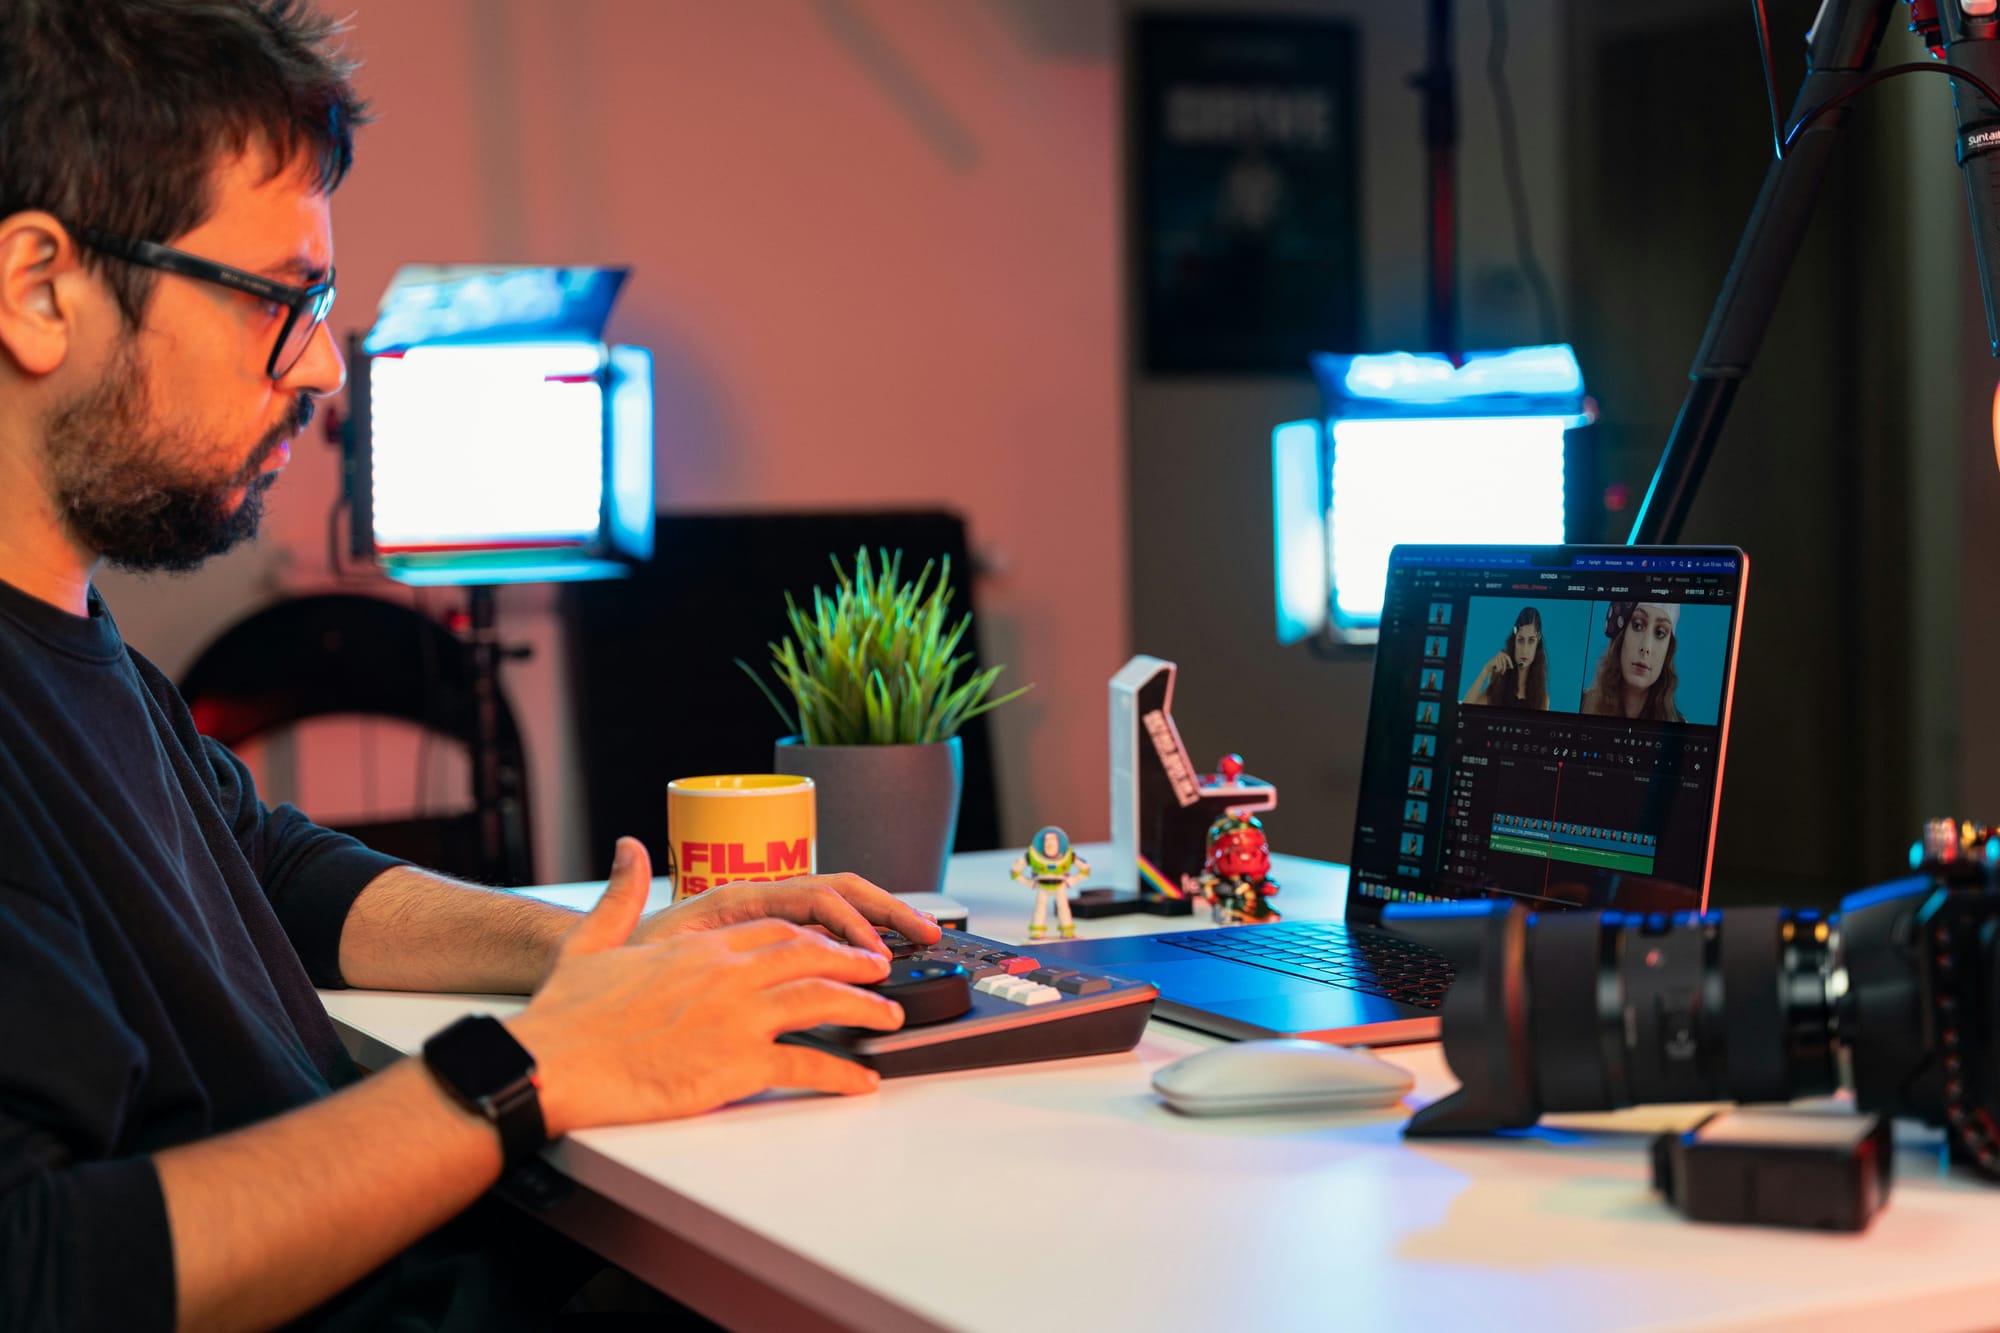
Webinar recordings and podcast episodes look the same to a casual observer: long video files full of people talking. But the content inside follows completely different logic, and that difference breaks most AI clipping workflows before they even start.
According to CMSWire, marketers spend up to 5 hours editing a single webinar into clips. That number reflects a real problem: the manual effort required when your tool is optimized for the wrong content type. A clip generator tuned to detect entertainment energy, audience laughter, or dramatic pacing will consistently miss the moment a presenter calmly drops a statistic that would stop a B2B buyer mid-scroll. Calm delivery is not the same as low value, but most general-purpose tools treat it that way.
Where the Workflow Actually Breaks Down
The failure point is usually the screen-share problem. Webinars commonly run with a slide deck occupying most of the frame, with the presenter reduced to a small thumbnail in the corner. A clip generator that doesn't specifically track the active speaker will surface that static slide as the clip, not the person making the argument.
The viewer gets a rectangle of bullet points with a voice attached, which is not a short-form video anyone watches past the first two seconds. Webinar-specific clipping requires active-speaker detection as a baseline, not an optional feature.
Automating Content Repurposing With AI
Most teams handle this by manually scrubbing through the recording, identifying the strongest moments, and exporting them one by one. It feels like the responsible approach because you maintain control over what gets published. The hidden cost is that it takes hours per recording, and most webinar content never gets repurposed at all because the effort simply doesn't fit the week.
Tools like Crayo's clip creator address this directly by using AI to detect and extract the strongest moments automatically, formatting them for platforms like LinkedIn, Instagram, and TikTok without requiring any editing experience, so the recording stops sitting idle in a folder.
Why Volume Expectations Create a Second Problem
The same pattern surfaces when marketers benchmark their webinar clipping results against podcast output. A 60-minute podcast episode can realistically yield 15 to 25 standalone clips because the format is built for continuous, self-contained commentary.
A webinar of the same length typically contains 5 to 10 moments that hold up independently, because large portions of the runtime are dedicated to context-setting, Q&A facilitation, or screen-shared walkthroughs that lose meaning without surrounding content. Expecting podcast-level clip volume from a webinar recording means spending real production time on clips that feel forced, incomplete, or too dependent on context the viewer doesn't have.
The Strategic Value of Brand Consistency
86% of businesses use video as a marketing tool, which means the competition for short-form attention is significant. The marketers who win that competition are not the ones producing the most clips. They produce the right clips from the right moments, formatted consistently, with branding that makes every output feel like part of a deliberate content strategy rather than a random export.
That consistency matters especially in B2B contexts, where a clip showing up in a prospect's feed needs to carry the same logo, color palette, and tone as every other piece of content your brand publishes.
Related Reading
- Best AI Podcast Clip Generator
- What Is An Audiogram Podcast
- How Long Does It Take To Trim A Zoom Recording
- Content Repurposing Examples
- Clipping A YouTube Video
- Podcast Clips For Social Media
- Video Clipping For Social Media
- Repurpose Webinar Content
- Can You Trim The Middle Of A Zoom Recording
- How Do I Repurpose My Interview To Social Media
- Sermon Clips AI
The Hidden Cost of Using a Generic Clip Tool for Webinar Content
The gap between "technically fine" and "actually useful" is where most webinar content dies. Generic AI clipping tools aren't broken. They're just calibrated for a different job, and applying them to webinar recordings without checking that fit creates a specific, measurable kind of waste that compounds across every recording you process.
Where the Real Production Loss Happens
The failure point is usually invisible until you're already committed. According to the Montage Real Cost of AI Clips Framework, 30 to 40 generated clips may yield only 3 to 5 publishable ones, a ratio that tightens further when the tool wasn't designed to recognize what "valuable" means for business content.
A webinar's most credible moment is often a calmly stated statistic, a precise case study figure, or a specific process breakdown. Tools tuned for vocal peaks and dramatic delivery consistently skip those moments and surface the speaker's animated aside instead. You end up editing around the tool's blind spots rather than building on its output.
Streamlining Clip Generation and Quality Control
Most teams handle this by adding a manual review pass, flagging and discarding clips that missed the mark before anything reaches a content calendar. That feels like quality control, but it signals that the tool and the content type were never matched correctly. Crayo approaches this differently, using an automated workflow where upload, styling, and generation happen in a single sequence, cutting the review-and-discard cycle that inflates production time without improving output quality.
The Metric That Exposes the Real Cost
The Montage Real Cost of AI Clips Framework defines Cost Per Publishable Clip as total workflow cost divided by the number of clips that actually make it to publication. That number looks very different depending on whether your tool understands the content it's processing. A generic tool generating 30 clips with 4 publishable outputs costs far more per usable clip than a matched tool generating 10 clips with 7 publishable ones. Volume is not the goal. Publishable rate is.
This matters especially for B2B content teams running webinars on a recurring schedule. A single 60-minute webinar realistically yields 5 to 10 usable clips when the tool matches the format. When it isn't, you either force weak, context-dependent clips to hit an inflated target or absorb the editing labor to compensate for what the tool missed. Both outcomes cost more than the tool's subscription fee suggests.
How to Turn a Webinar Into Short Clips With AI in 30 Minutes
Matching the right tool to webinar content solves the detection problem. But knowing which steps to take, and in what order, is what separates a clean 30-minute workflow from an afternoon of second-guessing your output.
Confirm Your Tool Detects Business Insights, Not Just Energy
The failure point is usually invisible until you review the clips. A tool calibrated for entertainment content ranks moments by vocal intensity, crowd reaction, or dramatic pacing. A webinar expert delivering a precise statistic in a measured tone registers as low-value to that system, even when it's the single most shareable moment in the entire recording.
Before generating a single clip, check whether your tool specifically flags data points, case examples, and structured arguments, not just peaks in audio energy. This one confirmation step eliminates the most common source of weak clip batches before they happen.
Verify Active-Speaker Tracking on Screen-Share Segments
The same issue surfaces in panel webinars and solo presentations alike: the moment a presenter shares their screen, many AI clipping tools lose track of who's actually talking. The clip defaults to a static slide, the speaker shrinks to a thumbnail, and the output looks like a screengrab, not a video worth publishing.
Test your tool on a screen-share-heavy segment before committing to a full clip run. If it frames the slide instead of the speaker, that's a configuration problem to solve now, not after you've generated 20 unusable clips.
Set a Realistic Clip Target Before You Start
Expecting podcast-level volume from a 60-minute webinar creates a specific kind of pressure that degrades quality. You end up approving clips that don't stand alone because you're chasing a number rather than curating value.
According to StreamYard's blog, some tools advertise up to 25 AI clips per broadcast, but webinar content with its structured, insight-driven format realistically supports 5 to 10 genuinely strong, standalone clips from a typical 40 to 90-minute session. Plan for that range from the start, and your review process becomes curation rather than damage control.
Apply Branded Templates Before Generating, Not After
Most teams handle branding as a finishing step. They generate the full clip batch, review it, approve the keepers, and then add logos and color treatments at the end. The problem with that sequence is that it turns branding into a manual task repeated for every individual clip, which compounds time cost across every future webinar.
Configure your branded template once, before the generation run, with your logo placement, color palette, and consistent caption styling locked in. Every clip that comes out already meets your visual standard, and the review step focuses entirely on content quality rather than production finishing.
Compressing Setup into a Single Pass
When the configuration step feels like too many moving parts to manage before a deadline, platforms like Crayo compress that setup into a single styling pass before generation, so branded, publish-ready clips come out of the process rather than going back in for post-production.
Prioritize Clips Featuring Metrics, Statistics, or Case Examples
After generation, the review queue typically mixes genuinely valuable clips with ones that are simply more animated. Without a deliberate prioritization filter, the animated ones get approved first because they feel more engaging on first watch.
The clips that perform best with B2B audiences are the ones anchored to a specific number, a named outcome, or a concrete case example. When you review your batch, sort by that criterion first. A calm, precise statistic delivered clearly will outperform an energetic but vague observation every time, because specificity is what makes a clip worth saving and sharing.
Add Speaker Labels For Multi-Speaker Formats
A viewer who lands on a short clip with no context can't evaluate the speaker's authority on the topic. In a panel-style webinar with two to four presenters, that missing context is the difference between a clip that builds credibility and one that gets scrolled past.
Add on-screen name and title labels to every clip before publishing, particularly for panel formats. This is a small production step with a disproportionate credibility return, especially for B2B audiences evaluating whether the speaker is worth following.
Write Captions That Name the Specific Insight
Generic captions describe the webinar. Specific captions communicate why this particular clip matters to someone who hasn't watched anything else you've produced. That difference determines whether someone stops scrolling or keeps moving.
Turning a webinar into short clips using AI takes about 30 minutes, but the caption determines whether that time investment pays off or gets ignored. Write or generate a caption that names the exact statistic, finding, or takeaway the clip demonstrates. One sentence of specificity does more work than three sentences of topic description.
What the Process Actually Changes
Before this workflow: the typical output is a generic clip batch reviewed against no clear standard, with branding added manually and captions written as afterthoughts. The result is a mix of strong and weak clips that takes longer to review than it took to generate.
After this workflow: every step has a defined purpose tied to what webinar content actually requires: insight detection confirmed upfront, speaker tracking verified before generation, branded templates applied before the run, and each clip reviewed and captioned around its specific business value. The clips that come out aren't just shorter versions of the webinar. They're standalone arguments, each one worth publishing on its own.
The process doesn't produce more clips. It produces the right ones, and that distinction is what makes the workflow repeatable rather than exhausting.
The 30-Minute Workflow to Turn a Webinar Into Short Clips
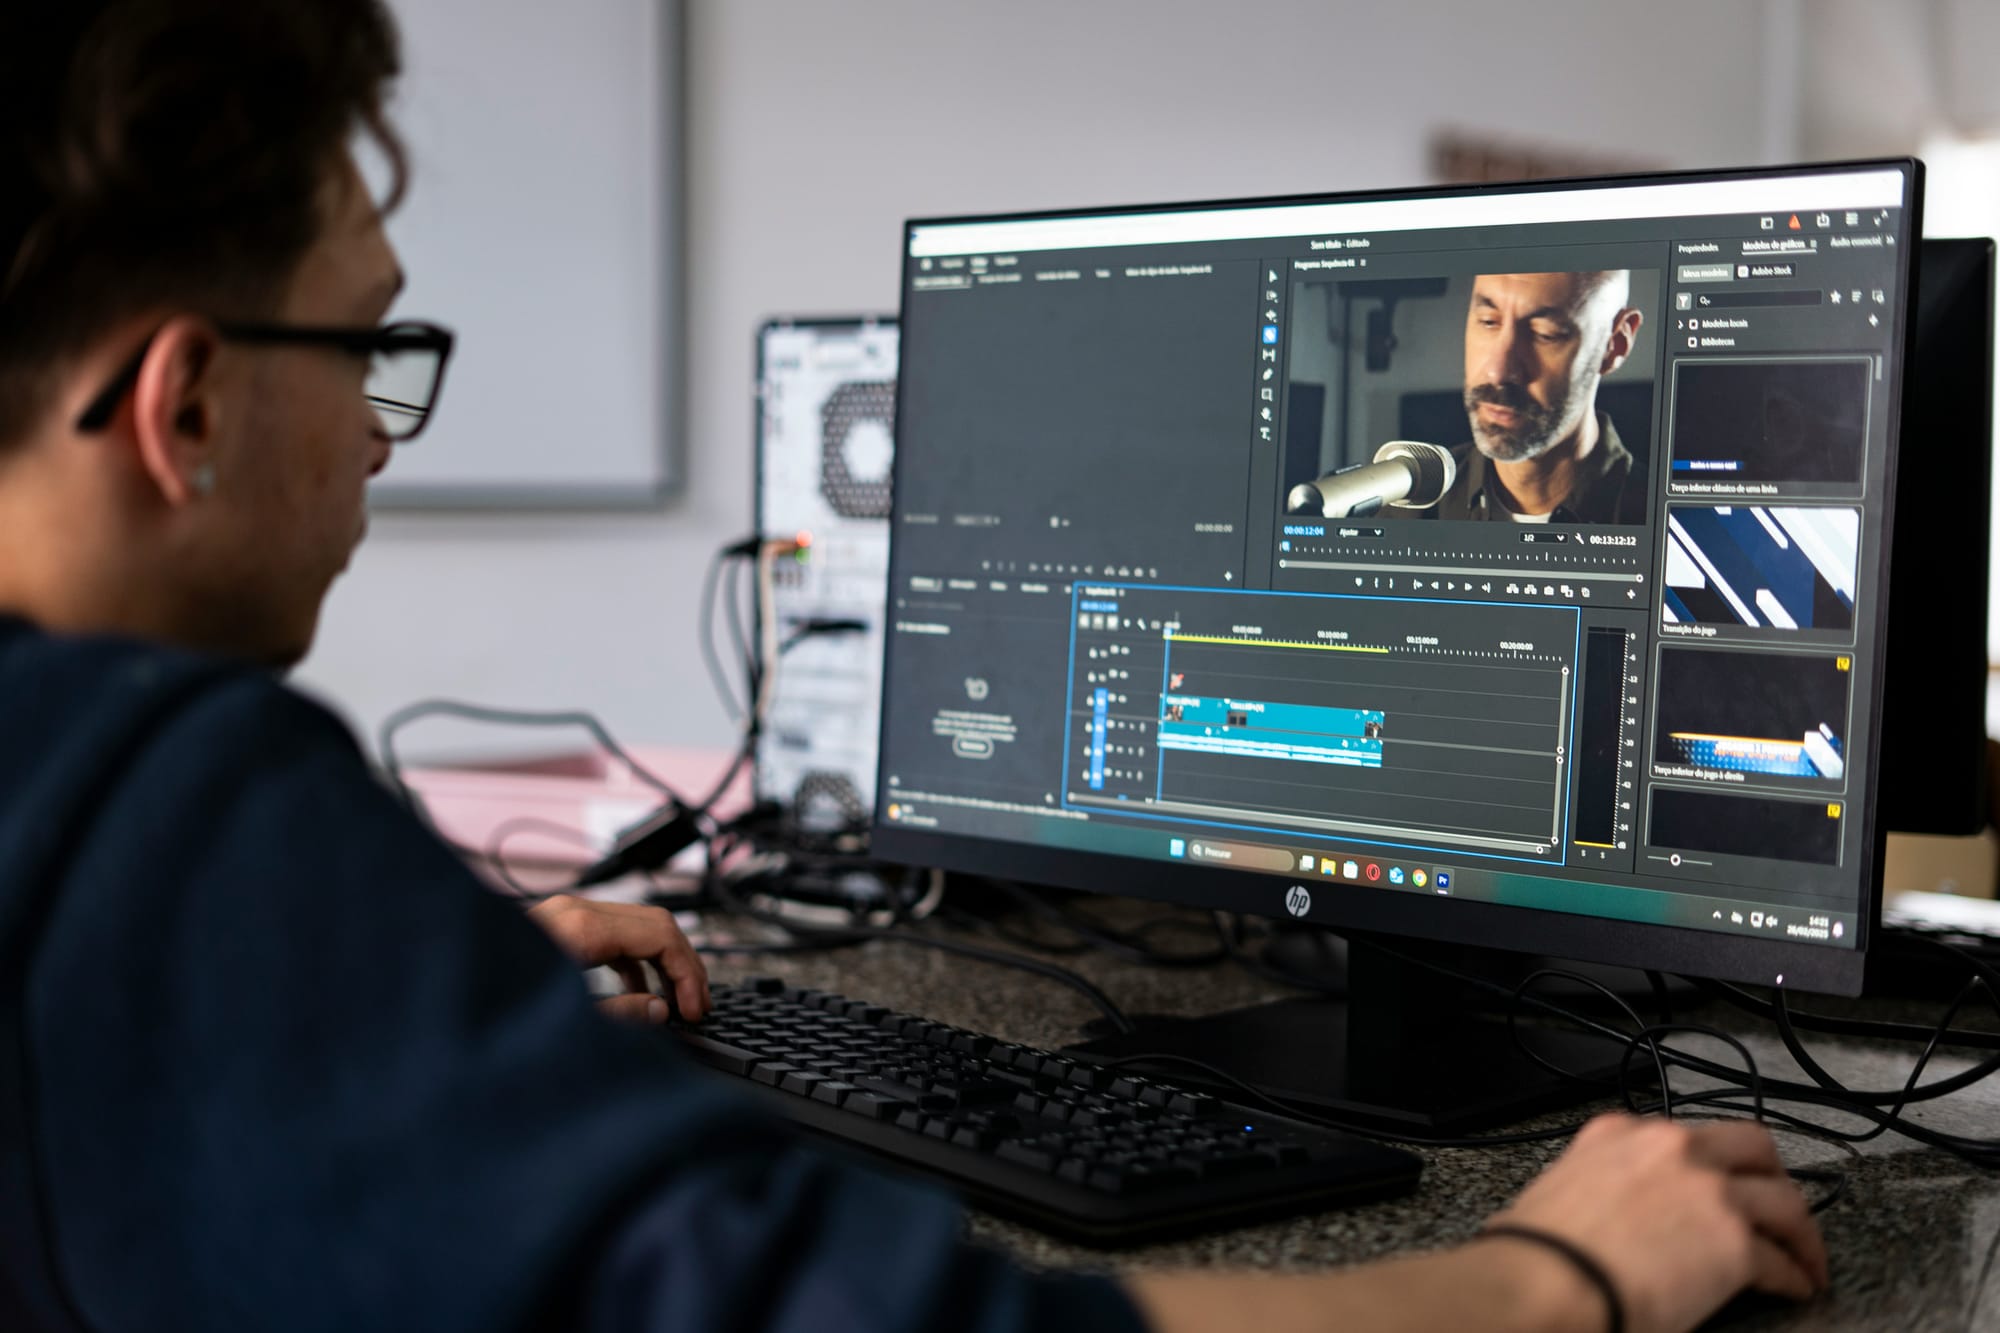
Consistency is the gap. Knowing the right steps is one thing; running the same sequence correctly every time, without shortcuts, is what separates teams that build a content engine from teams that produce a few good clips and then stall.
The workflow below is built around a fixed sequence because sequence matters. Skipping step one to save five minutes at the start typically costs twenty minutes at the end, when you're manually fixing clips that a mismatched tool generated incorrectly.
Minute 0-5: Confirm Your Tool's Insight Detection and Speaker Tracking
Before processing your full recording, confirm your clipping tool detects business insights specifically and handles active-speaker tracking correctly for screen-share content. This is a tool-fit check, not a setup task, and it belongs at the front of every session.
Catching a mismatch here, before generating a full batch, prevents wasted production time on clips that don't reflect webinar-specific value. A tool calibrated for entertainment audio peaks will consistently under-weight the data points and case examples that make webinar clips worth publishing.
Minutes 5-10: Set Up Your Branded Template
Configure your logo, brand colors, and consistent intro and outro template before generating any clips. Applying branding from the start, rather than retrofitting it afterward, creates the consistent B2B presence webinar audiences expect from professional content.
The failure point here is almost always sequence. Teams that brand after clipping spend more time per clip and produce less visual consistency across the batch, which compounds into a weaker content library over time.
Shifting Branding from Post-Production to Template Automation
Most teams handle this by adding captions and logos after the clips are already generated, treating branding as a finishing step. That approach creates friction at scale:
- Every clip becomes a separate editing task
- Consistency drifts as volume increases
Crayo addresses this directly, letting creators apply branded templates, caption styles, and visual formatting before the clip generation runs, so the output arrives ready to publish rather than ready to edit.
Minutes 10-20: Generate and Review Your Clip Batch
Run your webinar recording through your confirmed, branded setup and review the output specifically for clips featuring metrics, statistics, or concrete case examples. This is where the insight-priority filter gets applied directly, catching anything the AI detection may have underweighted in favor of vocal energy.
According to the OpusClip Blog, you can generate up to 10 short clips from a single webinar in under 30 minutes, which means the review window here is tight. Prioritizing clips with specific, verifiable business value during this pass prevents the selection step from becoming a second full review cycle.
Minutes 20-25: Select Your Strongest Clips and Add Speaker Labels
From your reviewed batch, select the 5-10 clips that carry the clearest business insight, and add speaker name and title labels for context. This step focuses your final output on quality within a realistic yield range, rather than stretching toward a clip count the source material doesn't support.
Speaker labels do more than add polish. They signal credibility, especially in B2B contexts where the speaker's authority is part of what makes the clip worth watching. A stat delivered by a named VP of Operations lands differently than the same stat delivered by an unnamed voice.
Minutes 25-30: Write Business-Relevant Captions and Publish
For each selected clip, write a caption that names the actual insight or takeaway, then publish according to your distribution plan. Generic captions waste the specificity you just spent twenty-five minutes building into the clip itself.
The Univid Blog identifies 11 distinct ways to repurpose a single webinar into weeks of content, so each clip you publish with a specific, insight-driven caption becomes a standalone entry point into a broader content strategy. The caption is not a label; it is the argument for why someone should stop scrolling.
Why the Sequence Holds
The problem was never a shortage of good content inside webinar recordings. The problem was applying a generic clipping approach without accounting for the specific requirements that make webinar content different from podcast audio or live-stream footage.
This workflow confirms tool fit first, applies branding before generation, filters for insight during review, sets a realistic clip count, and extends the insight focus into the caption layer. Every webinar gets processed the same way, in the same order, for the same reasons.
The before state is familiar: a general clip tool used without confirming insight detection, no branded template, an inflated volume target, and captions that describe the clip rather than argue for it. The after state is not more clips. It is the right clips, produced consistently, each one carrying a specific reason to exist.
Related Reading
- Podcast Shorts
- Repurpose Keynote Into Social Media Clips
- Church Reels Editing
- How To Start Clipping On Instagram
- How To Trim A Zoom Recording Saved On My Computer
- Best Video Clipping Tool For YouTube
- Repurposing Content For Social Media
- How To Add Audio To A Video
- Podcast Reels
- How To Repurpose Webinar Content For Marketing
Turn Webinars Into Branded Clips Faster With Crayo
Upload your webinar to Crayo, and insight detection, active-speaker tracking, and branded templating are already built in. No separate verification step, no manual template setup for each new recording, and no retrofitting branding after the clips are generated. The workflow that earlier sections described as ideal is simply the default.
The teams consistently getting publishable clips from every webinar are not working harder. They are using a tool matched to what webinar content actually requires, so their review time goes toward selecting the strongest 5 to 10 clips, not confirming whether the tool processed the content correctly. That is where the real time savings compound, not in any single session, but across every recording that follows.
Related Reading
• Best AI Video Clipping Tools 2026
• How To Trim Google Meet Recording
• Best Way To Make Podcast Clips
• Best AI Video Tools Like Vizard For Webinar Clips
• How To Automate My Video Clipping
• Content Repurposing Tool
• Best Audiogram Maker
• Best AI Video Repurposing Tools 2026
• How To Trim A Zoom Recording