

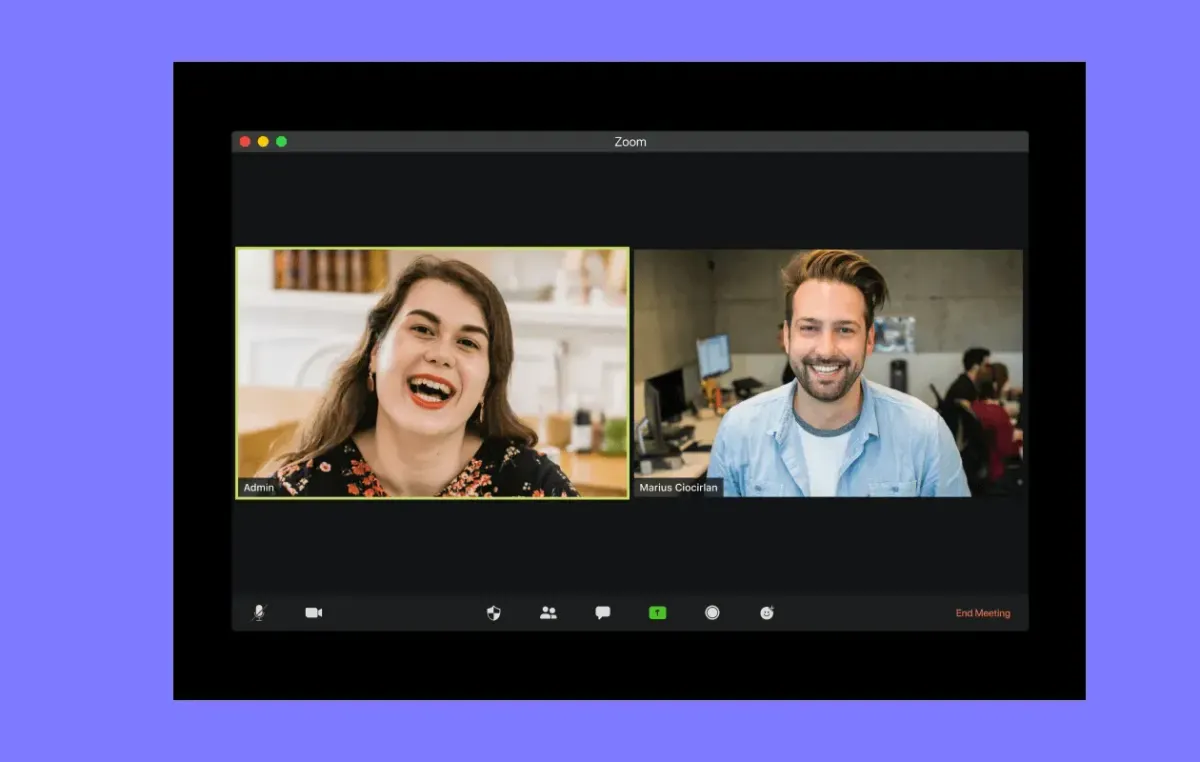
Ever sat through a 90-minute Zoom recording just to find the one 3-minute segment you actually needed? That kind of time drain is exactly why knowing how to trim a Zoom recording matters, and why tools like the best AI podcast clip generator are changing how people handle recorded meetings, interviews, and online sessions. This article walks you through the entire editing process in under 10 minutes, whether you are cutting dead air, removing filler sections, or saving a clean clip to share with your team.
That is where Crayo's clip creator tool becomes genuinely useful. Instead of wrestling with complicated video editing software, Crayo lets you quickly isolate the parts of your recording worth keeping, clean up the timeline, and export a polished clip without a steep learning curve. If your goal is to trim Zoom footage fast and share it with confidence, Crayo gives you a direct path.
Table of Contents
- Why Meeting Hosts Struggle to Trim a Zoom Recording Before Sharing It
- The Hidden Cost of Sharing Untrimmed Zoom Recordings
- How to Trim a Zoom Recording in Under 10 Minutes
- The 10-Minute Workflow Hosts Use to Trim a Zoom Recording and Share It
- Turn a Trimmed Zoom Recording Into Short Clips Faster With Crayo
Summary
- Recording length is one of the most consistent barriers to viewer engagement. Wistia's engagement data shows viewer retention drops sharply after the two-minute mark, meaning even a carefully trimmed 40-minute recording loses most of its audience well before the strongest content appears. The edit alone does not solve the attention problem.
- Zoom's built-in trimming tool is more limited than most hosts realize. Dragging the scissor handles adjusts the playback window but does not rewrite the underlying file, so if downloads are enabled, viewers can still pull the full-length version including transcripts, chat logs, and any content the host intended to remove. Trimming and controlling what viewers actually receive are two separate steps.
- Privacy and data retention are underappreciated reasons to edit before sharing. Zoom stores cloud recordings for up to one year by default, according to a 2025 legal analysis by Kropf Moseley Schmitt, and unedited files can include everything from off-topic tangents to side conversations participants assumed were off the record. Treating the trim as a privacy step, not just a length adjustment, changes how hosts approach the edit.
- The gap between where a recording's best content sits and whether viewers ever reach it is a real cost. A 60-minute session often contains two or three minutes' worth of content that could surface on its own, but those moments stay buried when the full file goes out unedited because viewers rarely scrub an hour of footage looking for highlights they weren't told exist. Trimming is less about shortening and more about pointing at what matters.
- Matching the editing method to the file type and privacy requirement prevents the most common sharing mistakes. Cloud recordings, local downloads, and institutionally routed files (such as those transferred to Echo360 or Panopto) each require a different tool and a different workflow. Opening the wrong editor for the file type can turn a five-minute job into an hour.
- A ten-minute trim workflow only holds up when done in a specific order: name the intended viewer before touching the timeline, confirm exact timestamps rather than approximate ones, match the method to the file, and review the first and last 30 seconds before sharing. According to Wistia's research, viewer drop-off is steepest in the opening stretch, so a single bad opening sentence that survives the edit costs more attention than anything buried in the middle.
Crayo's clip creator tool solves the part of the workflow manual trimming can't, turning a full recorded session into short, captioned clips that reach viewers who will never press play on the full file.
Why Meeting Hosts Struggle to Trim a Zoom Recording Before Sharing It

Trimming a Zoom recording should take five minutes. The scissor icon is right there, the timeline shortens, and the save button confirms the change. The problem is that what you see on screen and what your viewer receives are two different things, and that gap is where most sharing mistakes happen.
Non-Destructive Cloud Trimming
The failure point is usually a misread of what "trimmed" actually means inside Zoom's cloud editor. When you drag the handles and save, you are adjusting the playback window, not rewriting the file. University of Missouri System IT guidance confirms this directly: trimming does not affect the original recording, and if downloads are enabled, viewers can still pull the full-length version, complete with transcripts, chat logs, and subtitles you never intended to share. The host sees a 45-minute recording. The viewer downloads 70 minutes. Neither one knows the other is experiencing something different.
Editing Limits and Documentation Gaps
The same pattern surfaces with mid-recording edits. A technical glitch at the 30-minute mark, an off-topic tangent, a long pause while someone finds their screen share. Hosts expect a scissor tool to handle all of it. The Zoom Community Forum has fielded this question repeatedly, and as the Zoom Community Forum's recordings discussion reflects, official documentation on exactly what the built-in editor can and cannot remove remains sparse, leaving hosts to discover the limits through trial and error rather than clear guidance. That discovery usually happens after the recording is already shared.
External Tools and Time Costs
Most hosts handle this by downloading the file and opening it in whatever editor is already on their computer, which is a reasonable instinct. The hidden cost is time:
- Finding the right software
- Learning its interface
- Locating the exact timestamp
- Exporting in the correct format
- Then uploading again
That workflow can stretch a five-minute job into an hour. Tools like Crayo's clip creator address this directly by letting you upload a video file, isolate the sections worth keeping, and export a clean clip without the software learning curve, which matters most when you are working with recorded meetings where the goal is a fast, shareable result rather than a broadcast-quality production.
Local Recording Fragmentation
Local recordings add another layer. A file saved to your hard drive bypasses the cloud editor entirely, which means the scissor icon in your Zoom account is not even an option.
- Windows users typically reach for Clipchamp
- Mac users open iMovie
- Anyone who wants more control downloads DaVinci Resolve
Each tool has a different timeline interface, different export settings, and a different definition of what trim produces. The Zoom Community reflects this fragmentation too: hosts who ask the same trimming question often get answers pointing to three different tools, depending on where their recording lives.
The Hidden Decision-Making Process
The real issue is not that trimming is technically difficult. It is that the process asks you to make three separate decisions:
- Which file type you have.
- Which editor fits that file.
- Whether the output actually reflects your edits, without ever showing those decisions.
Most people skip straight to cutting and only discover the gap when a viewer mentions the awkward intro they were never supposed to see. When that untrimmed version lands in their inbox, it becomes a more expensive problem than most hosts expect.
Related Reading
- Best AI Podcast Clip Generator
- What Is An Audiogram Podcast
- How Long Does It Take To Trim A Zoom Recording
- Content Repurposing Examples
- Webinar To Short Clips AI
- Clipping a YouTube Video
- Podcast Clips For Social Media
- Video Clipping For Social Media
- How Do I Repurpose My Interview To Social Media
- Sermon Clips AI
The Hidden Cost of Sharing Untrimmed Zoom Recordings
Sharing the full recording feels like the responsible move. Nothing is missing, nothing is misrepresented, and nobody can accuse you of editing out context. The problem is that responsibility to the record and responsibility to the audience are two different things, and most hosts only think about the first one.
What Viewers Actually Do With Long Recordings
The failure point is usually the first sixty seconds. When a recording opens with someone unmuting, a host saying "can everyone see my screen," and three minutes of logistics, viewers make a quiet decision: they either skip forward or close the tab. That decision happens before your best content appears, and you never see it happen.
According to Reco.ai's analysis of Zoom privacy issues, Zoom was fined $85 million in a class-action settlement over privacy violations, which signals something worth noting: the platform collects and retains far more than most hosts realize, and so does every unedited file you send carrying that same raw session data.
What Stays in the File You Share
Most teams handle this by exporting the recording as-is and dropping the link into an email or Slack channel. It feels efficient. But the full file carries everything recorded in that session, including off-topic tangents, side conversations, and any moment someone said something they assumed was off the record. According to Kropf Moseley Schmitt's 2025 legal analysis, Zoom stores recordings in its cloud storage for up to one year by default, meaning the unedited file stays accessible long after the conversation feels relevant. Trimming isn't just about viewer experience; it is also about controlling what you actually distribute.
Streamlining Trimming With Automated Tools
Most creators working at volume eventually hit the same wall:
- Trimming each recording manually
- Finding the right in-point
- Cutting the dead air at the tail
- Exporting a clean file takes longer than the edit feels like it should
Tools like Crayo address that friction, letting you upload a video file and generate a polished, publish-ready clip with captions in seconds, instead of spending an afternoon in a timeline editor to remove ten minutes of setup.
The Buried Moments Nobody Finds
A 60-minute session often contains two or three genuinely useful minutes' worth of content that can be clipped and shared on their own. The insight your guest dropped at the 42-minute mark, the answer that reframes the whole conversation, the moment the room shifted. Those moments stay buried when the full file goes out unedited, because nobody scrubs an hour of video looking for a highlight they were not told exists. Trimming a Zoom recording is not really about shortening; it is about surfacing. Editing is the act of pointing to what matters.
The Hidden Costs of Unedited Video
Skipping that step compounds the cost. Viewers who leave early do not come back. Files that are too large don't open on mobile. Expired cloud links leave no record. Each of those outcomes is avoidable with a single editing pass that most hosts keep postponing because it looks harder than it actually is. That gap between how hard trimming looks and how long it actually takes is where most people lose the most time.
How to Trim a Zoom Recording in Under 10 Minutes
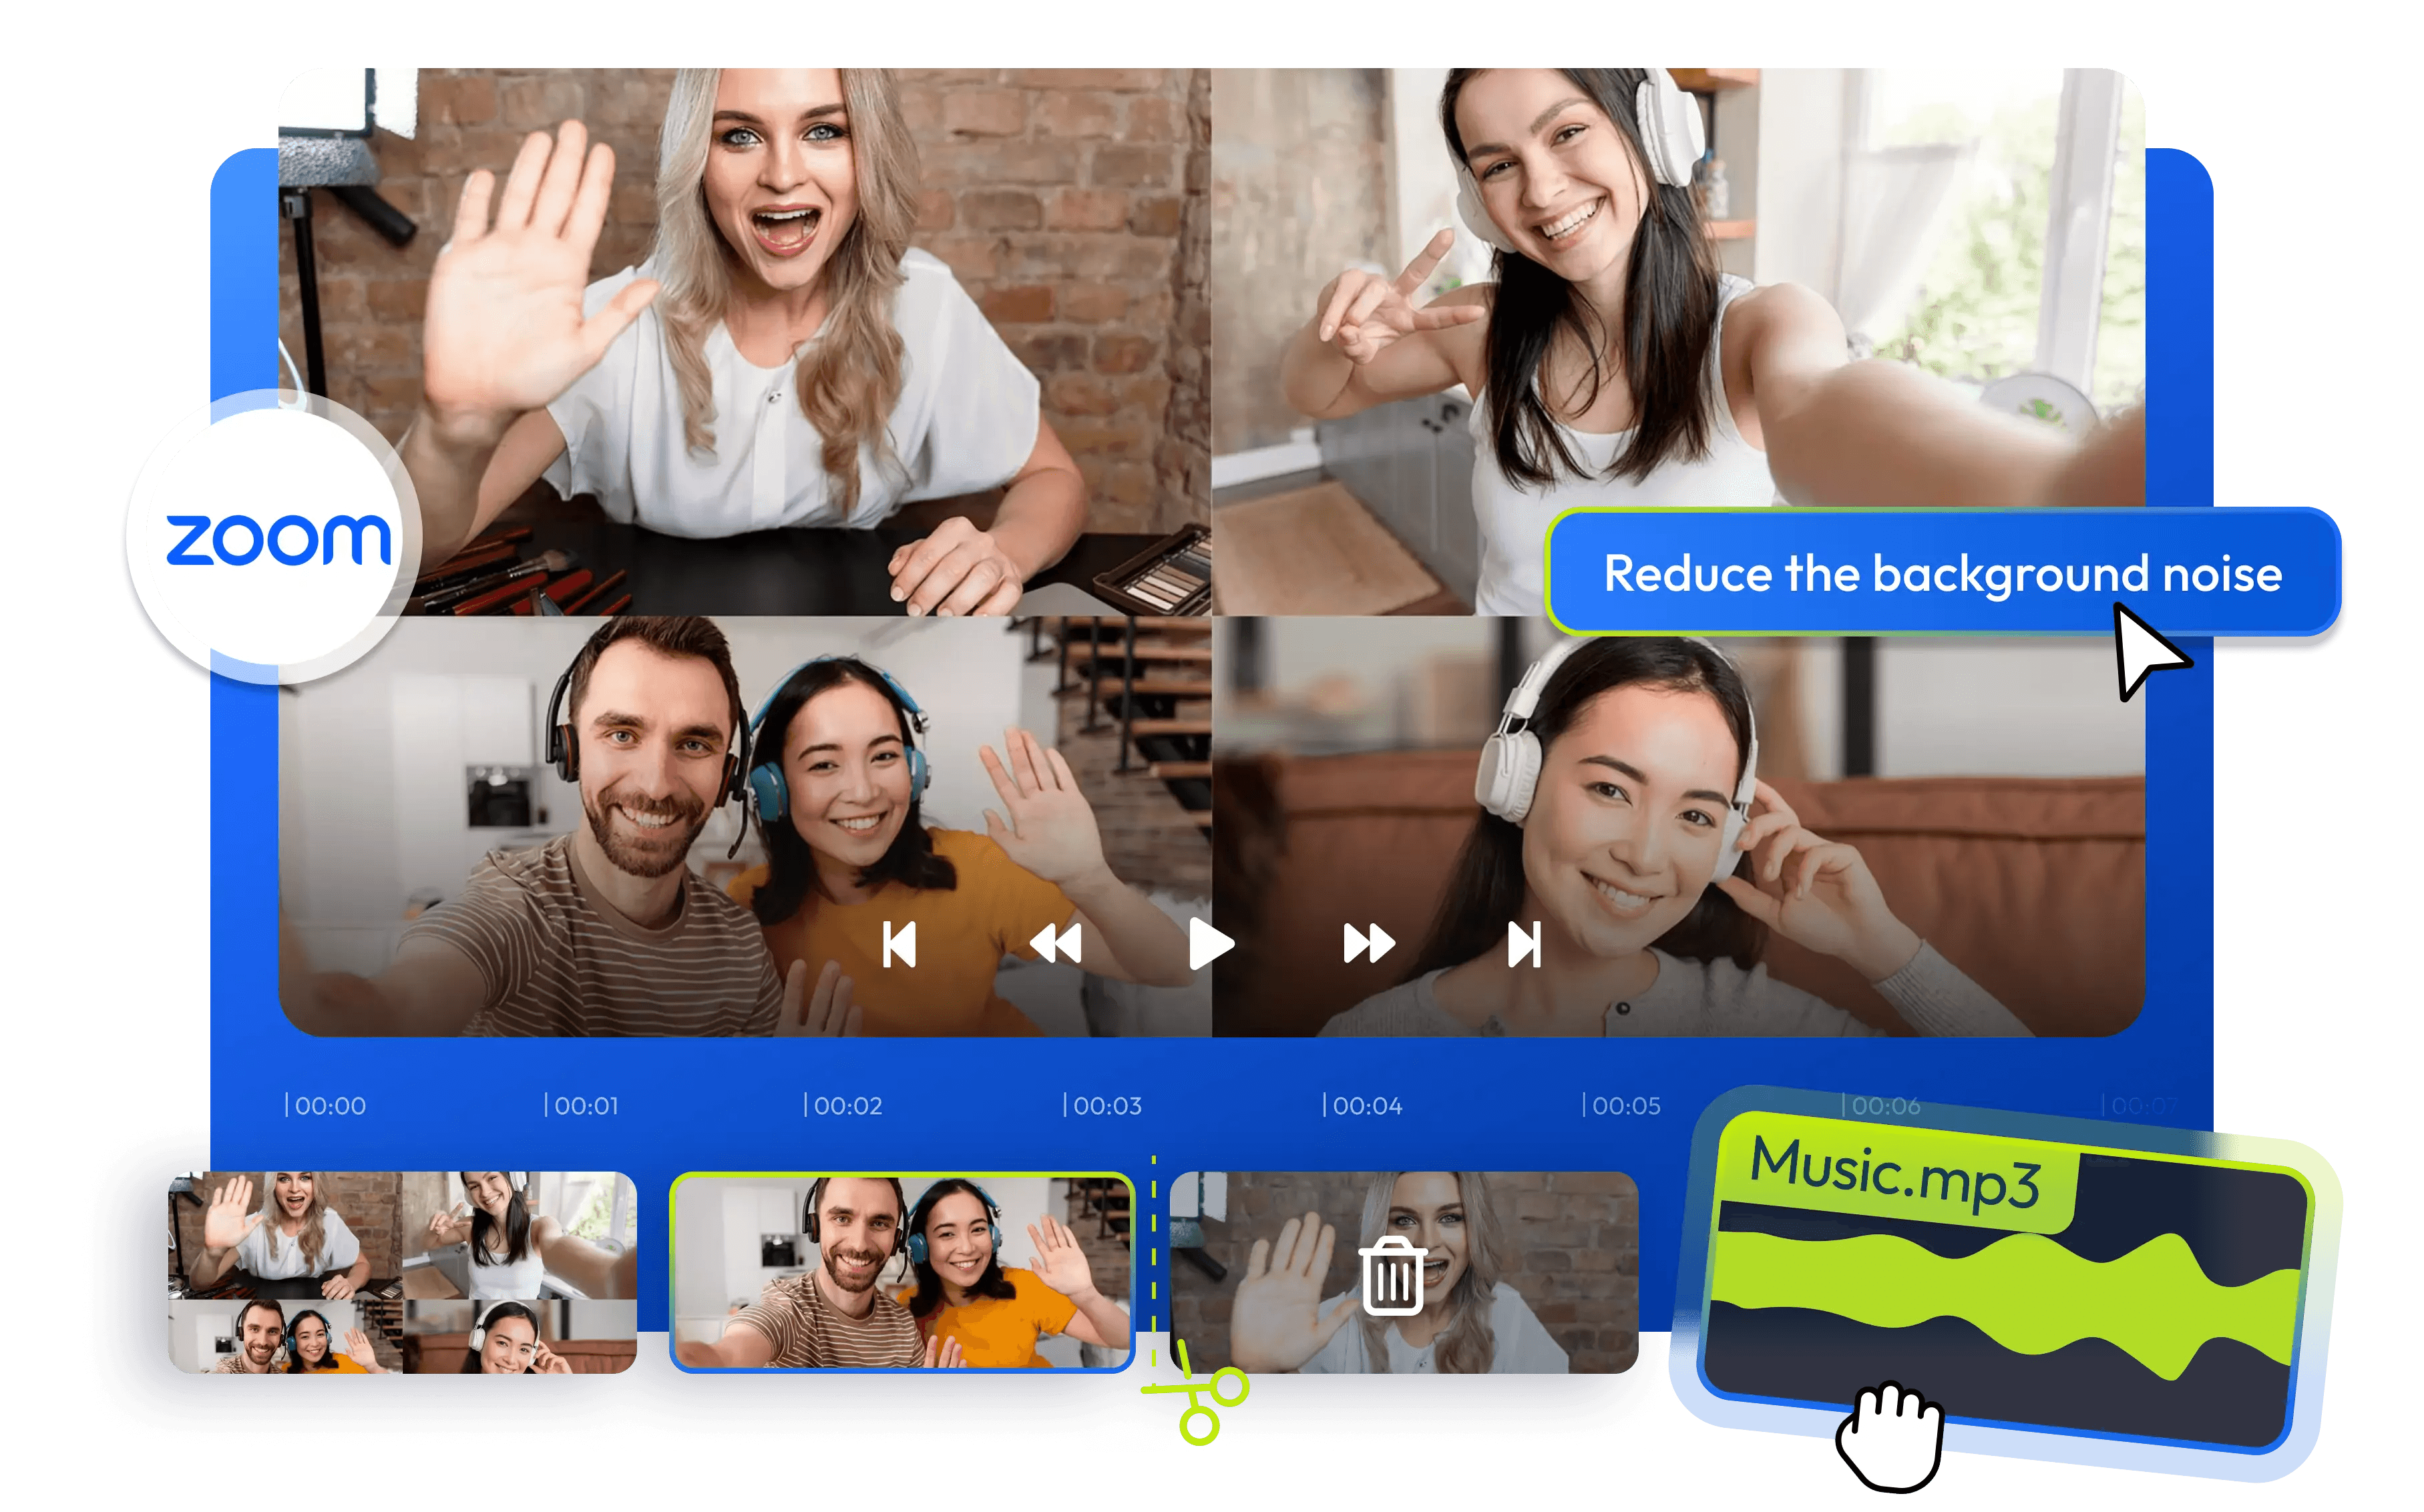
Seven methods cover every trimming case a host will encounter, and the right one depends entirely on what you need to deliver at the end.
Trim a Cloud Recording With Zoom's Scissor Tool
The fastest fix for dead air at the start and end costs nothing and requires no software.
- Open your Zoom account on the web
- Go to Recordings
- Click play to open the viewer
- Then select the scissor icon at the bottom right
- Drag the sliders to your new start and end points, then click Trim.
The University of York and University of Otago both document this same sequence, and it takes about two minutes from login to a shareable link that opens at the first useful sentence. One detail most hosts miss: trimming the cloud recording changes what the playback link shows, but it does not remove the original file from download. Check your download permissions before you send the link, or the trim is cosmetic.
Cut a Break From the Middle
When a break or glitch sits in the middle of a recording, the scissor tool alone is not enough.
- Look for the plus icon inside the same editor
- Create a section for each stretch you want to keep
- Adjust each boundary
- Save
Each section marks something to preserve, so the gap between them drops out of playback entirely, and what viewers hear is one continuous session. If the plus icon does not appear, your Zoom plan may not support it. A thread in the Zoom Community confirms that some accounts see only start and end sliders. In that case, skip to a downloaded file.
Download and Trim on Windows or Mac
Cloud trimming never touches the underlying file. If you need to send an attachment, upload to a video platform, or guarantee that the removed footage is gone from the copy you share, you need to export a real file.
- Download the recording from Zoom first
- Then open it in Microsoft Clipchamp on Windows or iMovie on Mac
Both are free and handle a basic cut without a learning curve. Split at the points you want to remove, delete those clips, and export. The University of Otago names both tools specifically for this use case. Keep the original download as a separate file. Different cuts serve different audiences, and you can't undelete what you didn't save.
Use DaVinci Resolve When the Edit Is Bigger Than a Trim
A single start-and-end cut is one thing. When a recording needs several edits, audio level fixes, or multiple sections removed, a dedicated editor earns its place. DaVinci Resolve is free, runs on Windows and Mac, and handles a complex project without forcing you to buy anything. Otago lists it as the cross-platform option for exactly this situation. The tradeoff is a steeper learning curve than Clipchamp or iMovie. Choose it when the edit is genuinely complex, not because it feels more professional to open a full editor for a two-minute trim.
Edit in Echo360 or Panopto if Your Recordings Route There
The same issue surfaces in universities and large organizations: Zoom recordings transfer automatically to a video platform, and viewers watch the copy in the cloud, not the one in Zoom. Editing the Zoom version and leaving the platform copy untouched fixes nothing. The University of Otago's guidance says to edit directly in Echo360 when recordings transfer there. Missouri's documentation notes that many institutional recordings move to Panopto, where the editor works the same way. Trim the copy your audience sees, not the backup.
Turn a Trimmed Recording Into Short Clips
Most teams stop at the trim and consider the job done. That is a reasonable choice for a training session or team meeting, but it leaves the best moments buried inside an hour of footage that most people will never watch all the way through. Wistia's engagement data shows viewer retention drops sharply after the two-minute mark, which means a trimmed sixty-minute recording still loses most of its audience before the tenth minute.
Automated Clip Creation
The familiar approach is to share the full trimmed recording and hope the right people find the right moments. What actually happens is that the recording sits in a shared drive, gets opened once or twice, and fades. Crayo takes a different path: it uploads the trimmed recording and auto-generates short vertical clips with captions already applied, ready to publish. Instead of one long file that demands patience, you get several self-contained pieces that work for people who will never sit through the full session.
Which Method Fits Your Situation
Constraint-based thinking makes this faster to decide than it looks.
- If you only need to cut the start and end and a link is fine, the scissor tool handles it.
- If a break sits in the middle and the plus icon appears in your editor, use sections.
- If you must send or upload a real file, Clipchamp on Windows and iMovie on Mac both export a clean copy.
- If the edit involves multiple cuts or audio work, DaVinci Resolve is the right tool.
- If your organization routes recordings to Echo360 or Panopto, edit there.
- If the goal is short promotional or social pieces, clips come after the trim, not instead of it.
Pick by the output you need. Opening DaVinci Resolve to trim a two-minute edge trades ten minutes of editing for forty minutes of setup, and that math never improves.
What Changes After You Edit
Before: a long recording with a slow opening, shared as a raw link, loses most of its audience in the first thirty seconds.
After: a trimmed version that starts at the first useful sentence, with download permissions checked, gives viewers a reason to stay. Before: good moments sit unreachable inside an hour of footage. After: they become short clips that travel further than the full recording ever could. The edit is not the last step. It is the decision point where a recording either earns attention or quietly disappears. But knowing which method to use is only half the equation, because the order you do things in determines whether ten minutes is actually enough.
The 10-Minute Workflow Hosts Use to Trim a Zoom Recording and Share It
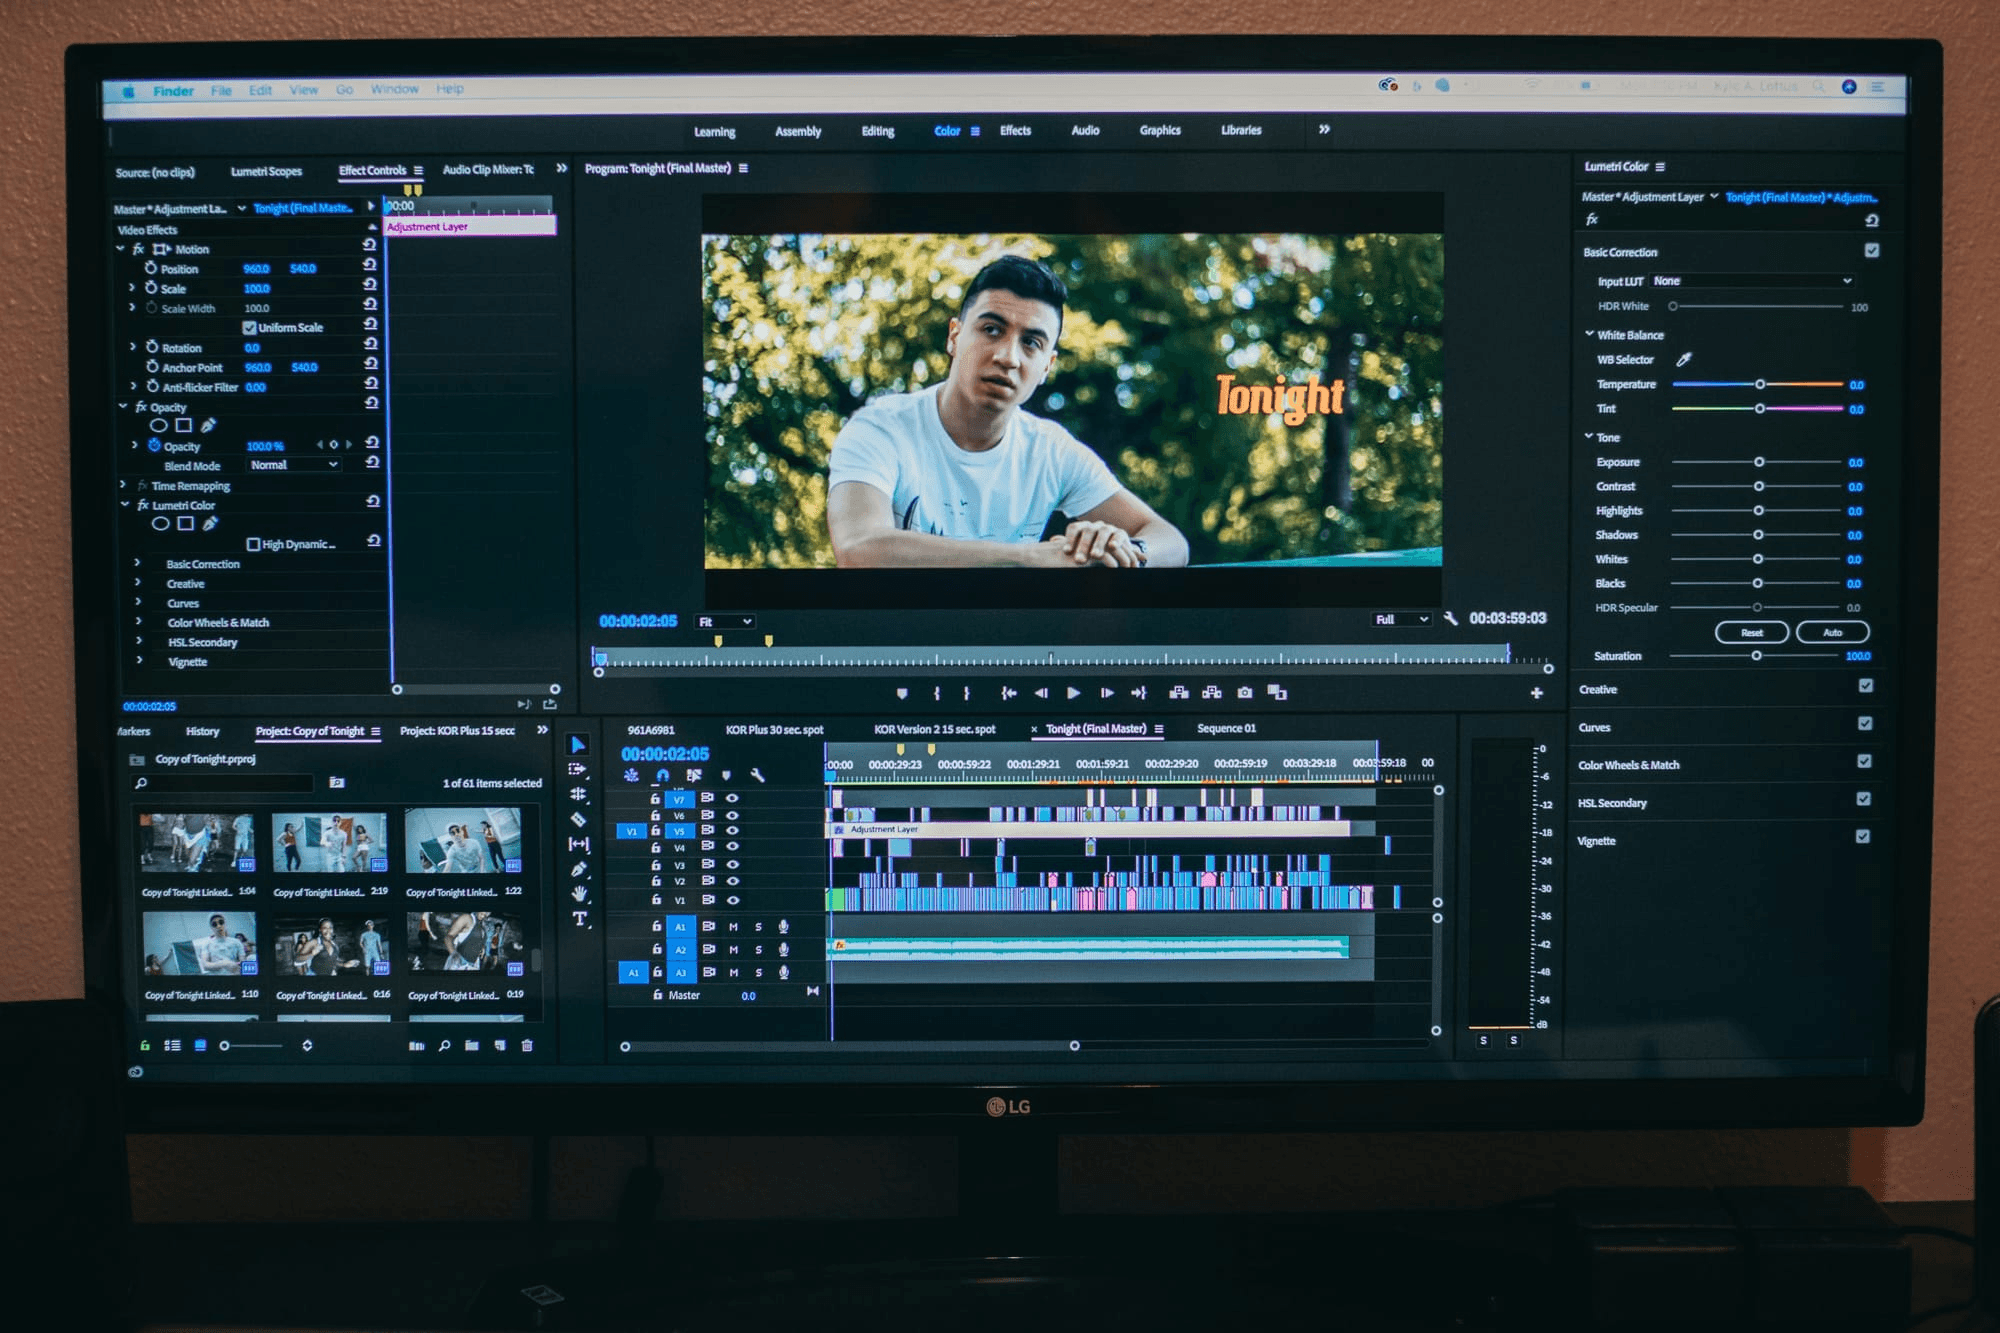
Order determines outcome. The workflow below only holds its ten-minute promise when each stage feeds the next, and when the recording is already processed and sitting in your account before you begin.
Minute 0-1: Name the Viewer Before you Touch the Timeline
Decide who receives this recording and what they actually need from it. A colleague who missed the call needs the decision thread. A prospective customer needs the product demonstration, nothing before it and nothing after it. Write one sentence: "Start at the demo, end before the Q&A." That sentence is your edit brief. Without it, you will trim by instinct, second-guess the result, and trim again.
Minutes 1-3: Find Exact Timestamps, Not Approximate Ones
Open the recording and scrub through it with purpose. If your account includes a transcript, use it as a search tool rather than a reading document.
- Find the first sentence that earns its place and note the timestamp.
- Find the last useful moment and note that one too.
- Write down two numbers: 8:40 and 52:10, for example.
Dragging sliders without timestamps clips sentences mid-thought, and a recording that starts or ends mid-sentence signals carelessness before the viewer has seen a single slide.
Minutes 3-5: Match the Method to the File Type
The failure point is usually a mismatch between what the host wants to do and what the tool actually supports. Cloud recordings trimmed with Zoom's scissor tool shift the playback window but leave the original file intact for anyone with download access. If the cut needs to be permanent, or if it falls in the middle of the recording rather than at the edges, download the file and edit it in Clipchamp, iMovie, or DaVinci Resolve. The method must match the file type and privacy requirement, not just the available time.
Minutes 5-8: Review the Result Before Anyone Else Sees It
Play the first thirty seconds of the trimmed version. Then play the last thirty seconds. Those two checks catch ninety percent of editing errors:
- A cold open that starts mid-sentence
- An ending that runs three minutes past the useful content
- A download setting left open when it should be closed
According to Wistia's video engagement research, viewer drop-off is steepest in a recording's opening stretch, which means a weak start costs more attention than a weak middle. Most hosts skip this review because the trim felt right when they made it. That confidence is usually misplaced. The difference between a recording that holds attention and one that loses half its viewers in the first minute is often a single bad opening sentence that survived the edit.
Minutes 8-10: Share With Intent, Then Measure What Happened
Send the link to the specific viewer you named in the first minute, not to a general channel. Then, after twenty-four hours, check whether viewers reached the end. If early drop-off is still high despite a tighter opening, the problem has shifted from editing to content density, and the next recording needs a different structure, not a shorter trim. The common approach is to share a recording and move on. That habit makes sense when recordings feel disposable. But sharing a recording without any follow-up on viewer behavior is a guess dressed up as a decision. Even a single data point, whether viewers finished or abandoned early, tells you something the edit itself cannot.
The Checklist That Prevents the Most Common Mistakes
Before sharing, run through six questions in under sixty seconds.
- Is the purpose named?
- Are the timestamps confirmed?
- Does the method match cloud or local?
- Have you played the first and last thirty seconds?
- Is the download setting what you intended?
- Do you have a local copy if your retention window is short?
These are not bureaucratic steps. Each one addresses a specific failure mode that keeps showing up when hosts skip the review stage and share immediately after trimming.
When the Workflow Breaks Down
The trim disappears from the downloaded file even though the original remains intact in the cloud. Disable downloads or export a separate edited file to close that gap. The plus icon for mid-recording cuts is missing when the account version only supports start and end trimming, which means the cut needs to happen in an external editor. The recording is gone once the account's retention window passes, and the trash folder is the first place to check before assuming it is unrecoverable.
Constraint-based thinking helps here: if the tool cannot do what you need, the file must leave the platform before the edit happens. When the retention window is short, a local copy is not optional.
Where This Workflow Reaches Its Limit
This ten-minute window works cleanly for one recording with simple edge cuts. It doesn't scale to finding the three best minutes inside an hour of footage, and it doesn't produce the short clips that travel further than a full recording ever will. Finding those moments by hand, scrubbing through timestamps and rewatching segments to judge which sixty seconds are worth pulling out, is the slowest part of the process and the one most likely to be skipped entirely.
Effortless Content Extraction With Automation
Most teams handle this by sharing the full trimmed recording and hoping viewers find the good parts themselves. The hidden cost is that most viewers do not. They drop off before reaching the strongest moment, and that moment never earns the attention it deserves. That is exactly where tools like Crayo change the equation. Instead of manually hunting through a downloaded file for highlight-worthy segments, Crayo lets you upload the video, then auto-clips it, adds captions, and generates polished short-form content in seconds, turning the slowest part of the workflow into the fastest.
Before vs. after
Before this workflow: a seventy-minute recording shared with ten minutes of setup footage at the front, an unknown download setting, and no data on whether anyone watched past the first five minutes.
After: a recording that opens on the first useful sentence, with a confirmed download setting, a saved local copy, and a note on where viewers left off so the next recording can be structured differently. The edit is not a finishing touch. It is the decision that determines whether the recording earns attention or quietly disappears into someone's unread notifications. But a trimmed recording is still just a recording, and the gap between a polished clip that spreads and a shortened file that sits in a shared drive is wider than most hosts expect.
Related Reading
- Church Reels Editing
- Podcast Shorts
- How To Start Clipping On Instagram
- Best Video Clipping Tool For YouTube
- Repurposing Content For Social Media
- How To Add Audio To A Video
- How To Repurpose Webinar Content For Marketing
Turn a Trimmed Zoom Recording Into Short Clips Faster With Crayo
The trim gets your recording to a place worth sharing. But a 40-minute file, even a clean one, still asks viewers to commit. Most won't. Upload your trimmed Zoom recording to Crayo, generate vertical captioned clips, and solve the problem the scissor tool never could: getting your best moments seen by people who will never press play on the full version.
The clip is not a summary. It is the moment that earns the watch. When a Q&A answer at minute 38 becomes a 45-second vertical clip with captions, it travels. The full recording becomes the destination for people who want more, and the clip becomes the reason they go there. That's different from a trimmed file sitting in a shared drive, waiting for someone motivated enough to find it.
Related Reading
• Content Repurposing Tool
• Best Audiogram Maker
• Best AI Video Clipping Tools 2026
• How To Trim Google Meet Recording
• How To Trim A Zoom Recording
• Best AI Video Tools Like Vizard For Webinar Clips
• How To Automate My Video Clipping
• Best Way To Make Podcast Clips
• Best AI Video Repurposing Tools 2026