
Ever recorded a great video only to realize the audio sounds like it was captured inside a tunnel? Syncing sound to video is one of those tasks that looks simple but can eat up hours if you don't know the right steps. Whether you're adding background music, voiceover narration, or clean dialogue tracks, getting the audio to sit perfectly with your visuals matters more than most people think. This article walks you through adding audio to a video without sync issues in 20 minutes, so you can spend less time fixing problems and more time creating content worth watching.
If you want to move even faster, Crayo's clip creator tool is worth knowing about, especially if you're already working with podcast content and need the best AI podcast clip generator to pull shareable moments from longer recordings. Crayo lets you merge audio tracks with video clips cleanly, adjust sound levels, and export polished content without needing a professional editing background.
Table of Contents
- Why Added Audio Drifts Out of Sync Even After You Fix It
- The Hidden Cost of Nudging Audio Instead of Fixing the Source
- How to Add Audio to a Video Without Sync Issues in 20 Minutes
- The 20-Minute Workflow to Add Audio to a Video Correctly
- Add Audio to Your Video Faster With Crayo
Summary
- Variable Frame Rate footage is the most common and least obvious cause of audio sync drift. When you record video on a phone or screen recorder, the frame rate shifts constantly to save file size, and editing software built for constant frame rates can't reconcile that inconsistency. The drift compounds progressively through the video, getting worse the further in you go, which is why nudging the audio at the start never holds by the end.
- Converting source footage from Variable Frame Rate to Constant Frame Rate before touching the editing timeline is a preparation step, not an editing technique. Skipping it makes every subsequent sync adjustment temporary by design. The conversion takes a few minutes once, while re-nudging drift across a ten-minute video can take longer on the first pass alone and repeats every time you reopen or extend the project.
- A sharp sync cue at the start of a recording, like a hand clap, produces a visible waveform spike that matches a single identifiable frame in the video. Zooming into the waveform view and aligning that spike to its corresponding frame gives frame-accurate alignment in roughly thirty seconds. According to prodshort.com, audio sync issues can cause up to 100ms of perceptible delay for viewers, enough to make dialogue feel disconnected from mouth movement even when viewers cannot name what is wrong.
- Timeline frame rate settings create a second failure point that most editors discover too late. A file converted to 30fps placed on a 29.97fps timeline introduces a slow drift that behaves identically to the original Variable Frame Rate problem. Confirming that the timeline's frame rate matches the converted footage exactly takes seconds but prevents repeating the entire diagnostic process from scratch.
- The hidden cost of nudging audio instead of fixing the source file compounds across a week of content into hours of lost time. Research published in the Journal of Public Economics found that welfare effects for donors were overstated by a factor of ten when hidden costs were ignored, a pattern that maps directly onto how editors evaluate their own sync fixes: the visible result looks correct while the method's cost stays off the ledger.
- Watching the full exported file before publishing is the step most often skipped when a session runs long, but it is the only reliable check for codec-related timing shifts and audio compression artifacts that do not appear during playback inside the editing software. For anything over five minutes, spot-checking the timeline isn't enough, especially in the final third of the video, where drift would be most advanced if it existed.
Crayo's clip creator tool addresses this by integrating AI voiceovers and audio directly into the video generation workflow, so audio and video are produced together rather than assembled in separate steps, removing the frame rate mismatch problem at its origin rather than managing it after the fact.
Why Added Audio Drifts Out of Sync Even After You Fix It
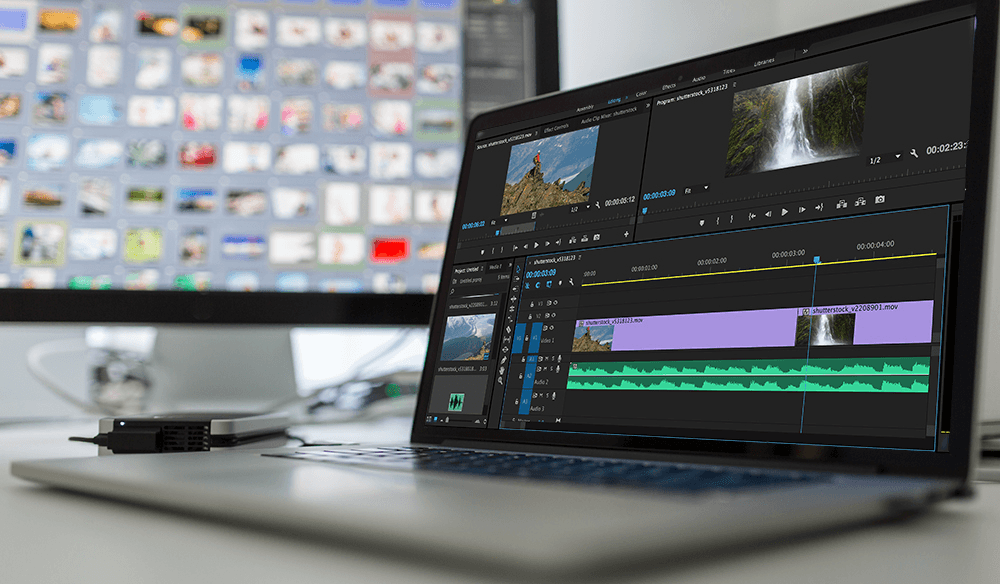
Variable Frame Rate footage is the culprit most people never think to check. When you record video on a phone or capture it with a screen-recording tool, the frame rate shifts constantly to save file size. Your editing software, built for a steady, predictable Constant Frame Rate, cannot reconcile that inconsistency. The result is a drift that compounds progressively, getting worse the further into the video you go, not a simple offset you can correct once and forget.
The failure point is usually invisible during editing. Your timeline preview looks clean. Your audio sits exactly where you placed it. Then you export, play the file back, and watch the dialogue slide further and further away from the lips on screen as the video continues. That gap between preview and export is not a software glitch. It is the VFR mismatch revealing itself when the two frame-rate systems finally collide in a rendered file.
Fixing VFR Sync Issues at the Source
A common pattern surfaces here: someone nudges their audio track earlier by a few frames, checks the beginning of the video, and calls it fixed. Twenty minutes later in the same clip, the drift has returned, sometimes worse than before. Chasing that drift by slicing and re-nudging is, as the documentation puts it, "a losing battle." The math never works out because the underlying problem is not positional. It is structural.
The actual fix happens before you open your editing timeline. Converting the source video from Variable Frame Rate to Constant Frame Rate at the file level removes the mismatch entirely. Once that conversion is done, audio syncs normally and holds consistently from the first frame to the last. It is a preparation step, not an editing technique, and skipping it makes every subsequent sync adjustment temporary by design.
Integrated Workflows and Manual Sync Anchors
Most podcast and short-form video creators working at volume do not have time to run diagnostic checks on every source file before editing. That friction is real. Crayo sidesteps this class of problem entirely by handling audio as part of a unified generation workflow rather than as a separate track you import, align, and hope stays put. When AI voiceovers and speech enhancement are built into the same tool that produces your final clip, the source-file mismatch problem simply does not exist in the first place.
One practical way to establish a reliable sync reference point when you are working outside that kind of integrated workflow is to record a deliberate audio cue at the start of your session. A sharp hand clap produces a visible spike in the audio waveform that matches a single, identifiable frame in the video. That pairing gives you a precise anchor, not a guess. Different recording setups introduce different sync problems, so diagnosing whether you are dealing with a fixed offset, a VFR drift, or a sample rate mismatch determines which fix actually applies.
Related Reading
- Best AI Podcast Clip Generator
- What Is An Audiogram Podcast
- How Long Does It Take To Trim A Zoom Recording
- Content Repurposing Examples
- Webinar To Short Clips AI
- Clipping a YouTube Video
- Podcast Clips For Social Media
- Video Clipping For Social Media
- How Do I Repurpose My Interview To Social Media
- Sermon Clips AI
The Hidden Cost of Nudging Audio Instead of Fixing the Source
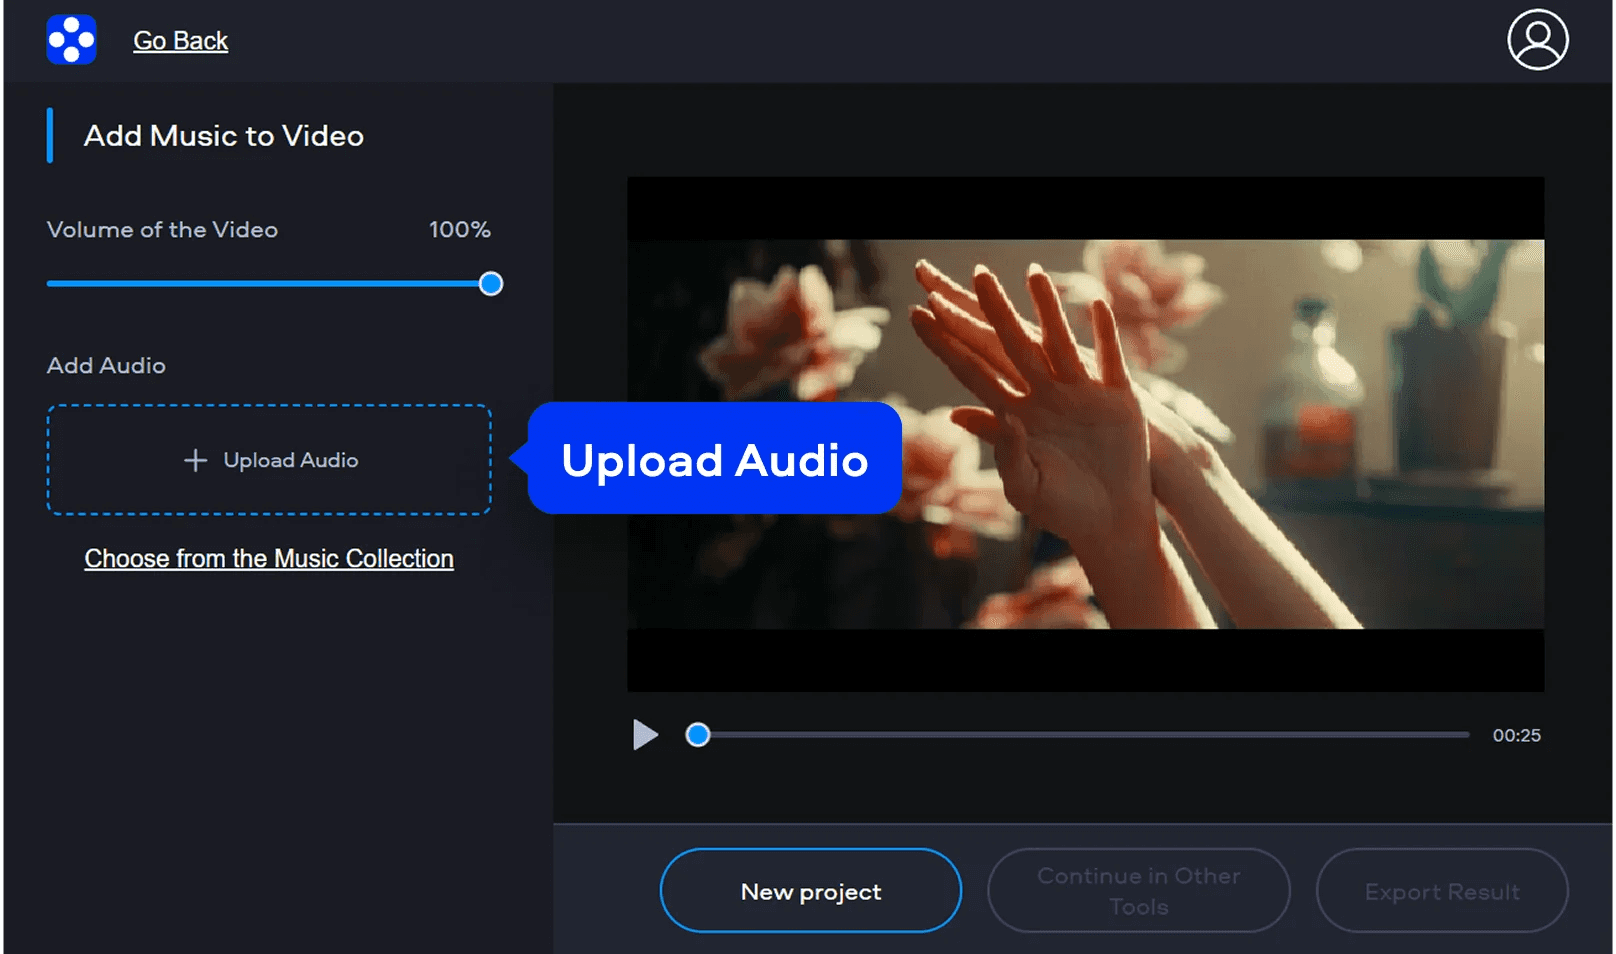
Repeatedly nudging audio into place feels productive. It looks like progress. But the editing time spent re-syncing the same drift at the three-minute mark, then the seven-minute mark, then again near the end of a ten-minute video adds up to a real, measurable cost that most creators never formally account for.
Compounding Costs of Structural Mismatch
The failure point is usually invisible until you map it. Each nudge session might take two or three minutes on its own, which feels trivial.
- Across a single project, those sessions compound.
- Across a week of content, they become hours.
The problem is not that the editor is slow or careless. It is that the tool being applied, a positional offset fix, is structurally mismatched to the problem it is being asked to solve. This pattern surfaces in fundraising research and behavioral economics too, where the assumption that a small corrective action will hold out costs in ways that only appear later.
Hidden Costs and Integrated Audio Solution
According to the Journal of Public Economics, two field experiments documented increased donations alongside increased unsubscriptions from reminder nudges, revealing that the visible benefit of nudging consistently masked a significant hidden cost running parallel to it. The parallel to audio editing is precise: the nudge appears to work at the point of application, while the underlying structural problem continues accumulating just out of view.
Most creators handling this inside a traditional editing timeline will eventually hit the ceiling of what timeline-based tools can do. Crayo approaches audio differently, treating it as part of an integrated generation workflow rather than a separate track to manually wrangle into alignment, which removes the nudging loop entirely for creators building short-form content at speed.
What Gets Misread as a Precision Problem
The belief that a more careful nudge will finally hold is reinforced by the fact that nudging genuinely solves one category of sync issue. Fixed-offset problems, where audio simply starts at the wrong time, respond correctly to a positional adjustment. That success trains the instinct.
When the same technique gets applied to progressive VFR drift, the initial result looks identical to a successful fix, which is exactly why the misdiagnosis persists across multiple attempts. Welfare effects for donors were overstated by a factor of ten when hidden costs were ignored, a finding that maps cleanly onto how editors evaluate their own sync fixes: the visible result looks correct, while the method's cost stays off the ledger entirely.
Comparing the Cost of Conversion Versus Manual Syncing
The break-even math on this is straightforward. Converting a source file from Variable Frame Rate to Constant Frame Rate before adding audio takes a few minutes once. Re-nudging drift across a ten-minute video can take longer than that on the first pass alone, and then repeats every time the same project gets reopened or extended. The one-time conversion is not a more technical solution. It's the simpler path, just unfamiliar enough that most people skip it in favor of the tool they already know.
How to Add Audio to a Video Without Sync Issues in 20 Minutes
Fixing drift at the source file level is the foundation. What comes next is building a repeatable process on top of that foundation, one you can finish in a single focused session rather than returning to across multiple days.
Check Your Source Footage First
The first action in any audio-to-video workflow is identifying what you're actually working with. If your footage came from a phone, a screen recorder, or a consumer camera, assume Variable Frame Rate until you verify otherwise using a tool like MediaInfo. That single check, done before you import anything, determines whether the rest of your session runs cleanly or compounds into a drift problem you'll spend hours chasing.
Convert VFR footage to Constant Frame Rate before you touch your timeline. This step takes a few minutes and saves the entire session. Skipping it is the single most documented reason editors end up nudging audio repeatedly and still watching it drift further out of alignment by the end of the video.
Why a Sync Cue Changes Everything
The failure point in most audio alignment work is imprecision at the start. Guessing sync by ear introduces an error you can't see until it compounds. A sharp, visible sound at the beginning of your recording, like a hand clap, gives you a physical reference:
- One frame
- One waveform spike
- One alignment point you can verify rather than approximate
Frame-Accurate Alignment to Eliminate Perception Lag
Zoom into the waveform view in your editing timeline and match that spike to its corresponding frame. This is frame-accurate alignment. It takes about thirty seconds and eliminates the guesswork that makes later sections of a long video drift noticeably even when the opening looks correct. According to prodshort.com, audio sync issues can cause up to 100ms of perceptible delay for viewers, which is enough to make dialogue feel slightly disconnected from the speaker's mouth movement, a small gap that registers emotionally even when viewers can't name what's wrong.
Match Your Timeline Settings Before You Cut Anything
A mismatch between your editing timeline's frame rate and your converted source footage is a secondary problem that most editors discover too late. If your converted footage runs at 30fps and your sequence is set to 24fps, you've reintroduced a structural mismatch that no amount of careful alignment will fix. Check the sequence settings before making a single cut. The pattern that surfaces repeatedly among editors troubleshooting post-export drift is this:
- They converted the footage
- They aligned the sync cue carefully
- Then they forgot to verify the sequence settings
The drift that appeared in the export wasn't from the encoding. It was from a frame rate mismatch that had been sitting in the project settings the entire time.
Stabilize Audio Before You Cut for Pacing
Most editors reach for pacing cuts too early. Trimming dead space and adjusting rhythm feels like progress, but if your audio tracks aren't balanced and stable first, every pacing cut creates new opportunities for sync-adjacent problems that are harder to isolate later.
- Balance your audio levels.
- Check for gaps or misaligned regions in the audio track.
- Confirm your sync holds across the full length of the video before you make any creative cuts.
This order matters. Reversing it doesn't save time; it creates a diagnostic problem where you can't tell whether a sync issue came from the original footage, the conversion, or a pacing cut you made mid-session.
Eliminating Audio Friction Through Integrated Workflow
Most creators working with short-form content handle this by adding music, voiceover, or sound effects directly in their editing timeline, adjusting each element manually as they go. That approach works at low volume, but as the number of audio layers grows, the surface area for errors does too. Crayo addresses this differently, integrating AI voiceovers and audio directly into the generation workflow so that audio and video are produced together rather than assembled in separate steps, removing the alignment problem at its origin rather than managing it after the fact.
The Export Review That Most People Skip
Sync that holds in your timeline preview can still shift during export. H.264 and AAC encoding can introduce small timing differences, and platform-side processing after upload adds another layer of potential drift that wasn't present in your original file. You can do manual audio sync in under 20 minutes using a clapperboard or clap method, but that time investment only pays off if you review the final exported file before it goes live.
Watch the full export before publishing. Not a scrub through the timeline. Play the actual exported file from beginning to end. This catches sync problems that only appear after rendering, and it's the last checkpoint before your video reaches an audience that will notice the drift even if they can't explain why something feels slightly off.
What the Completed Process Actually Looks Like
Before this process: footage imported directly into the timeline, audio added and nudged into approximate alignment, pacing cuts made before audio was stable, and the exported file published without a final review. The result is a video that looks correct in the preview and drifts visibly in the export.
After: footage type checked before import, VFR converted to CFR before the timeline is touched, a deliberate sync cue used for frame-accurate alignment, sequence settings verified against the converted footage, audio balanced before any pacing cuts, and the exported file reviewed in full before publishing. The result is a session that takes roughly twenty minutes and produces a file that holds sync from the first frame to the last.
The difference between these two workflows isn't technical complexity. It's sequence. Doing the right steps in the right order means each one supports the next rather than quietly undermining it.
Related Reading
- Church Reels Editing
- Podcast Shorts
- How To Start Clipping On Instagram
- How To Trim A Zoom Recording Saved On My Computer
- Best Video Clipping Tool For YouTube
- Repurposing Content For Social Media
- How To Add Audio To A Video
- Podcast Reels
- How To Repurpose Webinar Content For Marketing
The 20-Minute Workflow to Add Audio to a Video Correctly
Sequence is the fix. Converting before syncing, matching frame rates before aligning waveforms, and reviewing the full export before publishing each remove a failure point that would otherwise compound quietly. The twenty-minute workflow works because it respects that order. What most creators don't account for is how much the source file format shapes every downstream decision.
- Phone footage
- Screen recordings
- Consumer camera files
Each carries different encoding behaviors, and those behaviors determine which steps in the workflow actually apply to your project. Identifying your footage type in the first five minutes isn't a formality. It's a filter that tells you where your real risk is.
What Changes When You Know Your Footage Type First
The failure point is usually invisible until you're fifteen minutes into an edit. Variable Frame Rate footage looks normal in a media browser. It plays back without obvious errors. The problem only surfaces once you add audio, and the timeline starts accumulating the mismatch frame by frame. By the time the drift is noticeable, the structural cause has been baked into the project for several steps. Running your file through a tool like MediaInfo before importing takes under two minutes and tells you exactly what you're working with. If the frame rate shows a range rather than a fixed number, the conversion step isn't optional. That single check prevents the most common reason audio sync fails after it initially looks correct.
Why Timeline Frame Rate Matching is a Second Line of Defense
After conversion, the next place sync breaks is a mismatch between the converted file and the timeline's frame rate setting. A file converted to 30fps placed on a 29.97fps timeline creates a slow, almost imperceptible drift that behaves identically to the original VFR problem. The conversion fixed one mismatch and introduced another. This is where precision pays off in a way that feels disproportionate to the effort. Confirming that your timeline's frame rate matches your converted footage exactly takes seconds. Missing it means repeating the entire diagnostic process from the beginning, because the symptom looks the same even though the cause is different.
The Sync Cue Does More Than Help You Align
Using a visible sync cue, a hand clap, a slate, or any sharp transient sound, gives you a reference point that works in two directions simultaneously. You can see the physical event on the video track and match it to the spike in the audio waveform. When those two points align at the frame level, everything that follows inherits that accuracy.
Accumulating Misalignment in Manual Syncing
The alternative is aligning by feel, which introduces a margin of error that grows over longer recordings. A podcast episode or interview that runs forty minutes will expose a two-frame misalignment as a noticeable lag by the halfway point. The sync cue eliminates that margin before it can accumulate. Most creators who add external audio to video content handle this step by zooming into the waveform and dragging until it looks close enough. That approach works when the source file is already CFR and the timeline settings match. When either condition isn't met, "close enough" drifts.
The Export Check Most People Skip
Watching the finished export before publishing is the step most often cut when a session runs long. It also catches problems that only appear in the rendered file, including codec-related timing shifts and audio compression artifacts that don't show up during playback inside the editing software. The familiar approach is to scrub through the timeline, spot-check a few moments, and publish. That works for short clips. For anything over five minutes, the only reliable check is a full playback of the exported file, specifically listening for the relationship between spoken words and mouth movement in the final third of the video, where drift would be most advanced if it exists.
Multi-Track Drift in Unconverted VFR Files
Creators who add voiceover tracks, background music, and sound effects to the same project face a compounding version of this problem. Each audio layer inherits the same source-file conditions, so a single unconverted VFR file can cause drift across multiple tracks at once. Fixing one track but not the others can leave the voiceover in sync while the music drifts, or vice versa.
Where the Workflow Breaks Down at Scale
The pattern surfaces consistently across different contexts: the workflow above works reliably for single-source projects. When creators are producing multiple clips per week from different source files, the conversion step becomes a bottleneck. Each new source file needs to be identified, potentially converted, and verified before it enters the editing pipeline. That friction is where creators often skip conversion, especially under deadline pressure. The result is a session that starts clean and ends with a familiar drift problem, because adding audio directly to source footage is faster in the short term and costly in the final minutes before publishing.
Eliminating Sync Issues Through Built-In Audio Generation
Crayo takes a different approach by generating short-form video content with AI voiceovers and captions built into the output from the start. Because the audio is generated as part of the same process that produces the video, the frame rate mismatch that drives manual sync problems doesn't exist in the workflow at all. For creators producing high volumes of clips, that architectural difference removes the conversion step entirely rather than making it faster.
What the Before-and-After Actually Measures
The difference between the broken workflow and the corrected one isn't measured in technical skill. It's measured in where time goes.
- The broken workflow spends time repeatedly fixing a problem that keeps returning.
- The corrected workflow spends time once on the cause and then moves forward without backtracking.
When you add audio to a video using the sequence above, each step produces a stable output that the next step can rely on. The conversion produces a CFR file. The timeline match ensures the editor interprets that file correctly. The sync cue gives you a precise starting alignment. The export check confirms the result held from start to finish. That's not a more complex process. It's the same number of steps with a different order, and the order is what makes each one work.
Add Audio to Your Video Faster With Crayo
When speed becomes the real constraint, the technical steps covered earlier stop being the bottleneck, and the tool itself becomes the question. If you want to skip frame rate identification, conversion, and manual waveform alignment entirely, open Crayo, upload your video, add your audio track, and let the tool handle the sync. People who publish consistently aren't spending editing sessions diagnosing VFR footage or matching waveform spikes by hand. They've turned audio from a technical problem into a simple input, letting them focus on the content that drives growth.
Related Reading
• Best Audiogram Maker
• How To Trim A Zoom Recording
• Best AI Video Tools Like Vizard For Webinar Clips
• Best Way To Make Podcast Clips
• Best AI Video Clipping Tools 2026
• Best AI Video Repurposing Tools 2026
• Content Repurposing Tool
• How To Automate My Video Clipping
• How To Trim Google Meet Recording